
How To Cook Duck In Air Fryer [FULL GUIDE]
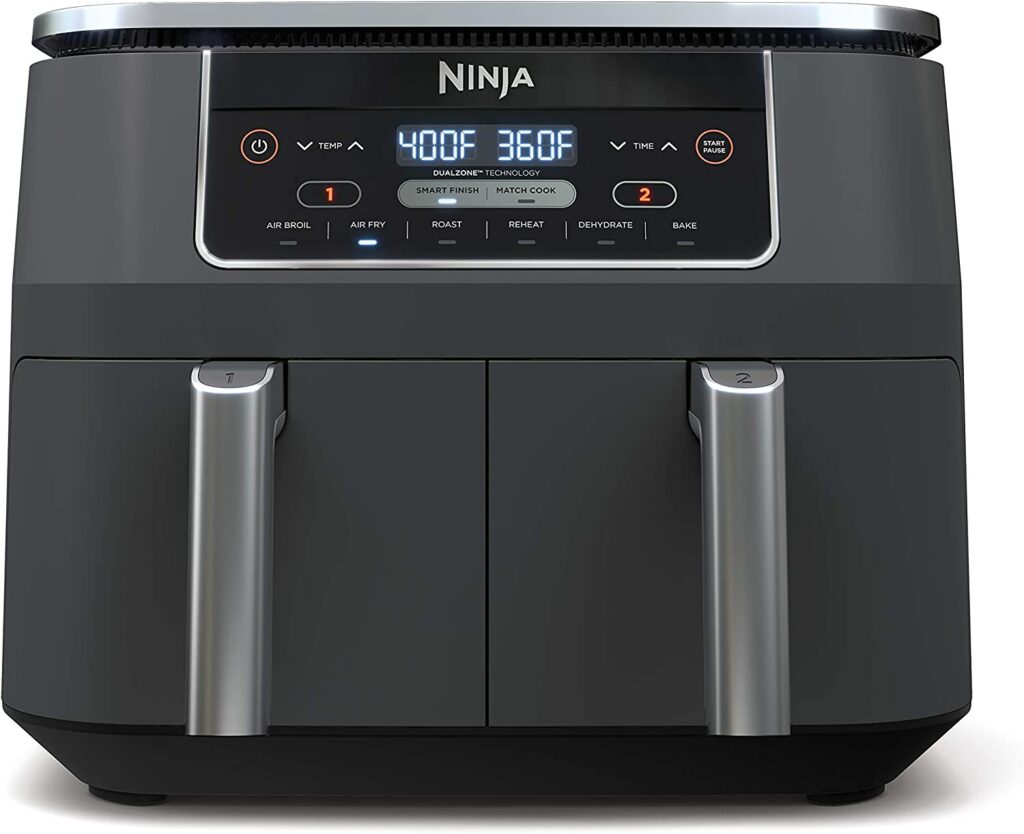
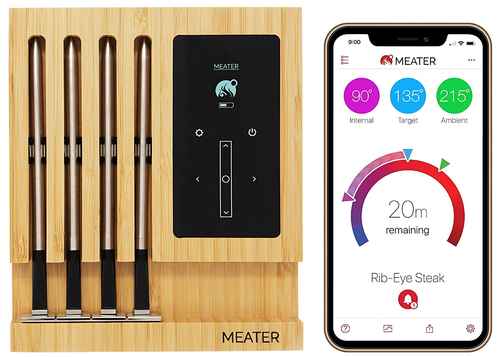
Recommended Equipments:
Cooking duck is often perceived as a culinary challenge, reserved for seasoned chefs or festive occasions, but air fryers have revolutionized the approach, making this rich, flavorful bird accessible to any home cook. Duck meat is famously dense and fatty, with a layer of subcutaneous fat that, when rendered properly, results in a delectably crisp skin and succulent interior. The air fryer’s rapid, circulating hot air simulates a professional roasting effect while drastically reducing cooking time and fat content compared to traditional oven methods.
However, achieving perfectly cooked duck requires precision in temperature, timing, and technique. Too low a temperature and the fat won’t render properly, leaving greasy, chewy meat; too high, and the skin can burn before the inside reaches a safe temperature. In this guide, we will explore every detail-from selecting the right temperature to identifying the telltale signs of doneness-so you can confidently cook a perfectly crispy, tender duck right in your air fryer.
Optimal Air Fryer Temperature To Cook Duck In Air Fryer
For air frying duck, temperature control is crucial because of the bird’s dense meat and thick layer of fat. The ideal cooking temperature for a whole duck in an air fryer generally falls between 350°F to 375°F (175°C to 190°C).
- 350°F (175°C): A moderate temperature that allows the fat to render slowly and the skin to crisp evenly without burning. This is particularly effective for larger ducks (4-5 lbs or more) where the interior needs more time to reach a safe temperature without overcooking the exterior.
- 375°F (190°C): Slightly higher, this temperature accelerates crisping of the skin, which is desirable if you prefer a deeply golden, crackly exterior. However, careful monitoring is needed to prevent the skin from burning before the meat is fully cooked.
Some advanced cooks may use a two-stage cooking approach: starting at a lower temperature (around 325°F) to cook the meat evenly and finishing at 375°F for 5-10 minutes to crisp the skin. This technique maximizes flavor, texture, and moisture retention.
How Long To Cook Duck In Air Fryer
The cooking time varies depending on the size and type of duck:
- Whole duck (4-5 lbs): Approximately 50-60 minutes, flipping halfway through.
- Duck breasts (skin-on, 6-8 oz each): Roughly 15-20 minutes, depending on thickness, with skin-side down first for optimal fat rendering.
- Duck legs or thighs: About 25-35 minutes, ensuring the fat is sufficiently rendered and the skin is crisped.
Air fryer cooking is faster than oven roasting, but frequent checks using a meat thermometer or visual inspection are essential because the air fryer’s intensity can vary between models.
How To Tell If It Is Done
The most reliable method is using a meat thermometer:
- Whole duck: Internal temperature should reach 165°F (74°C) in the thickest part of the breast and 175-180°F (79-82°C) for the legs.
- Duck breast: Medium-rare to medium is safe at 135-145°F (57-63°C); for fully cooked, aim for 165°F (74°C).
Other signs include:
- Skin is golden brown and crisp.
- Meat juices run clear, not pink.
- The fat has mostly rendered, leaving the duck firm but juicy.
Ingredients Needed
To achieve a flavorful air-fried duck, you’ll need:
- Whole duck (or individual parts like breasts or legs)
- Salt and pepper for seasoning
- Optional aromatics: garlic, rosemary, thyme, orange zest
- Optional glaze: honey, soy sauce, or balsamic reduction
- Olive oil or duck fat (sparingly, as duck is already fatty)
How To Cook Duck In Air Fryer
- Prep the duck: Remove giblets, pat dry thoroughly, and trim excess fat. Dry skin ensures maximum crispiness.
- Season: Rub the duck with salt, pepper, and any aromatics or glaze. For a more intense flavor, marinate for 1-2 hours or overnight.
- Preheat air fryer: Set to 350°F-375°F (175°C-190°C). Preheating ensures even cooking.
- Place duck in air fryer basket: Breast-side down for the first half of cooking. Leave space around the duck for air circulation.
- Cook in stages: Flip halfway through cooking. Optionally, finish at higher heat for extra crispiness.
- Check doneness: Use a thermometer or visual cues to ensure the duck is cooked through and skin is crisp.
- Rest before serving: Let the duck rest 5-10 minutes to allow juices to redistribute.
What If I Use A Different Air Fryer Temperature?
- Lower than 350°F (175°C): The fat will render slowly, potentially leaving chewy, greasy skin. The meat may take much longer to cook and risk uneven doneness.
- Higher than 375°F (190°C): Skin will crisp rapidly, but the interior may remain undercooked. Extra caution is required, and cooking in shorter intervals with thermometer checks is recommended.
What If I Use A Different Air Fryer Cooking Time?
- Shorter time: The duck may remain undercooked internally, especially for whole ducks or large breasts. This is unsafe and results in tough, unrendered fat.
- Longer time: While overcooking can ensure safety, it risks dry meat and burnt skin. Adjust by lowering temperature to compensate for extended cooking time.
When Things Go Wrong
- Skin isn’t crispy: Ensure duck is completely dry before seasoning and consider finishing at higher heat.
- Meat is undercooked: Use a thermometer and cook in additional 5-10 minute intervals.
- Excessive smoke: Duck fat can produce smoke; line the bottom of the air fryer with foil (not blocking vents) or reduce temperature slightly.
- Dry meat: Reduce cooking time slightly or increase resting time to retain juices.
Expert Tips
- Prick the skin lightly with a fork to help render fat without piercing the meat.
- Air fry in batches for smaller cuts to maintain airflow and even cooking.
- Use a two-stage temperature method: slow cook then high-heat crisping.
- Let the duck rest before carving to maintain moisture.
- Reserve rendered fat for roasting vegetables-it’s intensely flavorful.
FAQs
What Type Of Duck Is Best For Cooking In An Air Fryer?
Whole ducks or duck breasts are commonly used in air fryer recipes. Smaller ducks, such as Pekin or mallard, work well because they cook evenly. Duck breasts are ideal for quicker cooking, while whole ducks require longer cooking times.
Do I Need To Preheat The Air Fryer Before Cooking Duck?
Yes, preheating the air fryer is recommended. Preheating ensures that the duck starts cooking at the correct temperature, resulting in crispier skin and more even cooking. Typically, preheating to 360-375°F (180-190°C) for 3-5 minutes is sufficient.
Should I Season The Duck Before Air Frying?
Absolutely. Seasoning enhances flavor and can include salt, pepper, garlic, herbs, or a marinade. For whole ducks, it is also helpful to season the cavity and under the skin. Some recipes suggest a light coating of oil to help the skin crisp.
How Long Does It Take To Cook Duck In An Air Fryer?
Cooking time varies based on the cut and size of the duck. Duck breasts typically take 15-20 minutes at 360°F (180°C), flipping halfway through. A whole duck can take 50-60 minutes at 350°F (175°C), with periodic checking to ensure even browning and doneness.
How Do I Ensure The Duck Skin Is Crispy In The Air Fryer?
For crispy skin, pat the duck dry before seasoning, lightly score the skin to render fat, and avoid overcrowding the basket. Cooking at a slightly higher temperature for the last 5-10 minutes can also help crisp the skin. Some cooks spray a thin layer of oil to enhance crispiness.
Do I Need To Rest The Duck After Air Frying?
Yes, resting is important. Letting the duck rest for 5-10 minutes after cooking allows the juices to redistribute, preventing dryness and improving flavor. Cover loosely with foil to retain warmth without steaming the skin.
How Can I Check If The Duck Is Cooked Properly In An Air Fryer?
The most reliable method is using a meat thermometer. Duck breast should reach an internal temperature of 135-140°F (57-60°C) for medium-rare or 165°F (74°C) for well-done. Whole ducks should reach 165°F (74°C) in the thickest part of the meat. The skin should be golden brown and crisp.