Chicken Livers Air Fryer Recipe: A Delectable Delicacy For The Health-Conscious
Chicken livers are a humble yet flavorful part of poultry that often goes overlooked. However, with the rising popularity of air fryers, these tender and nutritious morsels have found a new and delicious way to take the spotlight. In this comprehensive article, we’ll dive into the science behind cooking chicken livers in an air fryer, provide valuable culinary details, and guide you through the selection, cleaning, and preparation process. We’ll also share useful tips, variations to spice up your dish, important doneness checks, and of course, a delectable air fryer chicken livers recipe that will leave you craving for more.
Food Science: Why Air Fryers?
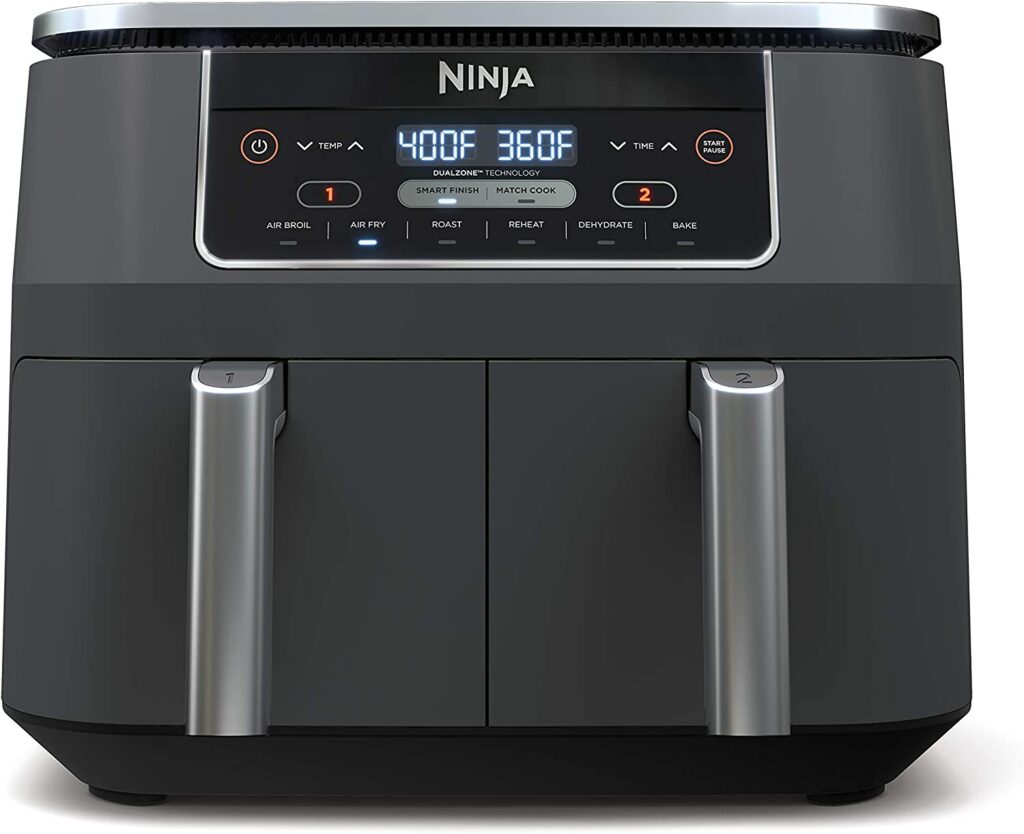
Air frying is a cooking technique that has gained immense popularity in recent years. Using a powerful convection mechanism, air fryers circulate hot air around the food, creating a crispy exterior while maintaining a juicy interior. This method requires significantly less oil than traditional frying, making it a healthier alternative for those conscious of their fat intake. Air frying also reduces cooking time and energy consumption, making it an efficient choice for busy individuals seeking to cook delicious meals with minimal effort.
When it comes to chicken livers, air frying provides a unique advantage. Due to their delicate nature, chicken livers can easily become overcooked and lose their tenderness. By utilizing the controlled temperature and rapid airflow of an air fryer, you can achieve a perfect balance, ensuring a crispy, golden exterior without compromising on the livers’ delicious and creamy texture.
Culinary Details: Selecting the Best Chicken Livers
Before exploring the intricacies of cooking chicken livers in an air fryer, it’s crucial to select the best quality livers. Here are some tips to help you choose the right ones:
-
Freshness: Opt for fresh chicken livers whenever possible. Ensure they have a vibrant, reddish-brown color and a sweet, earthy smell. Avoid any livers with brown discoloration or an overpowering odor.
-
Size: Chicken livers vary in size, with some being larger and others smaller. When selecting livers, choose ones that are similar in size to ensure even cooking.
-
Texture: Look for chicken livers that are firm but not stiff. They should be pliable and moist to the touch, indicating their freshness.
-
Source: Whenever feasible, choose free-range or organic chicken livers. These livers tend to have a richer flavor and are raised in more humane conditions.
Cleaning the Chicken Livers
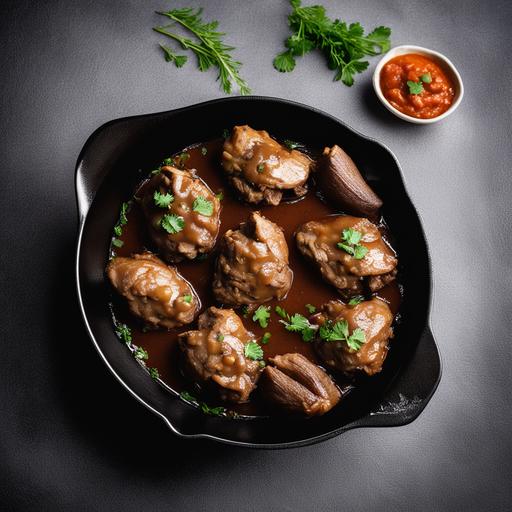
Properly cleaning chicken livers is a vital step to ensure their safety and enhance their flavor. Here’s a simple cleaning process:
-
Rinsing: Start by placing the livers in a colander and rinsing them under cold water. This removes any potential blood residue and loose debris.
-
Removing Connective Tissues: Chicken livers may contain small pieces of connective tissue, which can become tough and chewy when cooked. To remove them, pat the livers dry with a paper towel and gently pull away any visible tissues using your fingers or a pair of kitchen tweezers.
-
Soaking: Next, place the cleaned livers in a bowl filled with cold water and a teaspoon of salt. Allow them to soak for 15-30 minutes. This step helps remove any remaining impurities and enhances the livers’ flavor.
-
Patting Dry: Finally, drain the livers and pat them dry thoroughly using paper towels. Ensuring the livers are dry is essential for achieving a crispy exterior during air frying.
Preparation: Seasoning and Marinating
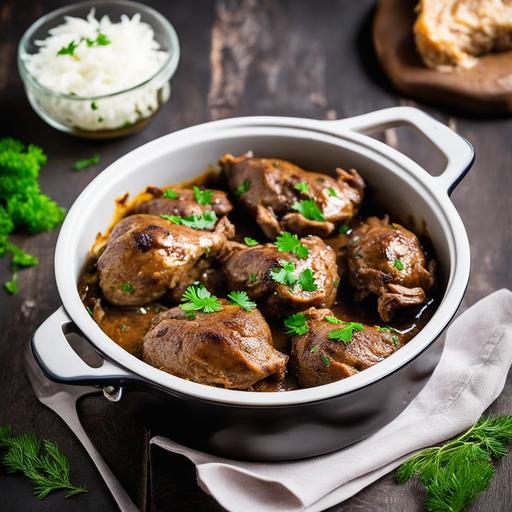
Preparing the chicken livers for air frying involves selecting the right seasoning and marinating them to enhance their flavors. Here’s a simple yet delicious seasoning and marinating recipe:
Ingredients:
- 1 pound of fresh chicken livers
- 2 tablespoons of olive oil
- 1 teaspoon of paprika
- 1 teaspoon of garlic powder
- 1 teaspoon of onion powder
- 1 teaspoon of dried thyme
- Salt and pepper to taste
Instructions:
-
In a large mixing bowl, combine olive oil, paprika, garlic powder, onion powder, dried thyme, salt, and pepper. Mix well to form a smooth paste.
-
Toss the cleaned and dried chicken livers into the bowl with the seasoning mixture. Ensure each liver is well-coated with the flavorful blend.
-
Cover the bowl and refrigerate the marinated livers for at least 30 minutes, allowing the flavors to infuse.
-
After marinating, take the livers out of the refrigerator and let them come to room temperature. This ensures even cooking.
Tips for Perfect Air Fried Chicken Livers
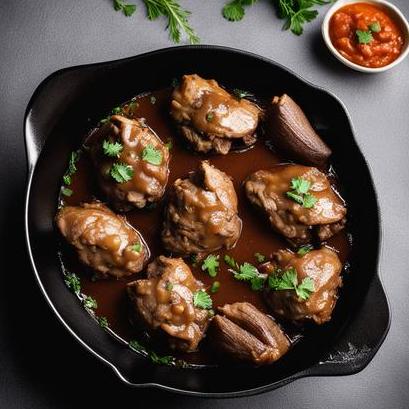
To achieve the best results with your air fried chicken livers, consider the following tips:
-
Preheating: Preheat your air fryer to the recommended temperature before adding the livers. This ensures they cook evenly and develop a beautiful crust.
-
Single Layer: Arrange the marinated livers in a single layer in the air fryer basket. Crowding the livers may affect the airflow, resulting in uneven cooking and reduced crispiness.
-
Spray with Oil: Lightly coat the marinated livers with cooking spray or a drizzle of oil. This step promotes the browning process, resulting in a crispy exterior.
-
Shake and Flip: Midway through the cooking process, shake the livers in the basket or gently flip them over. This ensures even browning and helps you achieve that desired crispiness.
-
Avoid Overcooking: Chicken livers cook quickly, and overcooking can lead to dryness. Keep a close eye on the livers, taking them out when they are cooked through, but still juicy and tender.
Doneness Checks: Ensuring Perfection
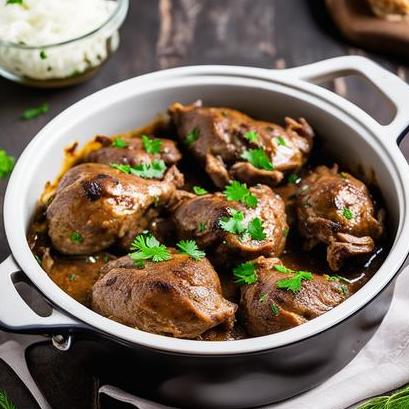
Checking the doneness of your air fried chicken livers is essential to avoid undercooked or overcooked results. Here are a few indicators to help you determine their readiness:
-
Internal temperature: Using a meat thermometer, check that the internal temperature of the thickest part of the chicken livers reaches 165°F (74°C). This guarantees their safety and optimal texture.
-
Color: The exterior of the air fried chicken livers should be golden brown and have a crispy texture. Avoid livers that are pale or overly dark, as they may be undercooked or overcooked, respectively.
-
Texture: Gently press the livers with a fork or tongs. They should yield slightly to pressure but still retain their overall shape. Overcooked livers tend to be tough and dry, while undercooked livers are mushy.
Recipe: Air Fryer Chicken Livers Delight
Here’s a mouthwatering recipe for air frying chicken livers, resulting in a delightful dish that will satisfy your taste buds. Get ready to experience a burst of flavors and crispy goodness!
Ingredients:
- 1 pound of fresh chicken livers
- 2 tablespoons of olive oil
- 1 teaspoon of paprika
- 1 teaspoon of garlic powder
- 1 teaspoon of onion powder
- 1 teaspoon of dried thyme
- Salt and pepper to taste
Instructions:
-
In a large mixing bowl, combine olive oil, paprika, garlic powder, onion powder, dried thyme, salt, and pepper. Mix well to form a smooth paste.
-
Add the cleaned and dried chicken livers to the bowl with the seasoning mixture. Ensure each liver is thoroughly coated.
-
Cover the bowl and refrigerate the marinated livers for at least 30 minutes.
-
Preheat your air fryer to 400°F (200°C) for approximately 5 minutes.
-
Lightly spray or drizzle the marinated livers with oil. Place them in a single layer in the air fryer basket.
-
Air fry the livers at 400°F (200°C) for 6-8 minutes, shaking or flipping them halfway through.
-
Check the internal temperature of the livers using a meat thermometer. Ensure it reaches 165°F (74°C) for safe consumption.
-
Once the livers are cooked through and have a golden brown crust, remove them from the air fryer and let them rest for a few minutes before serving.
-
Serve the air fried chicken livers as a tantalizing appetizer or as part of a flavorful main course. Pair them with your favorite dip or incorporate them into sandwiches, salads, or pasta dishes for a burst of savory goodness.
Variations to Explore
While the air fried chicken livers alone are a delightful treat, experimenting with different flavors and variations can elevate this dish even further. Here are a few ideas to spark your imagination:
-
Spicy Kick: Add a pinch of cayenne pepper or red pepper flakes to the seasoning mixture for a spicier version. Pair it with a cooling dip or serve it over a bed of fresh greens.
-
Sweet and Savory: For a unique twist, drizzle the cooked chicken livers with honey or maple syrup. The combination of the savory livers and sweet glaze creates a delightful flavor contrast.
-
Asian Fusion: Infuse an Asian flair by adding a teaspoon of soy sauce, ginger, and sesame oil to the seasoning mix. Serve the cooked livers with a side of steamed rice or stir-fried vegetables for a complete meal.
-
Herb Infusion: Experiment with different herbs and spices to create your signature blend. Consider using rosemary, oregano, or even a touch of smoked paprika to elevate the flavors.
-
Bacon-Wrapped: For an indulgent treat, wrap each chicken liver with a slice of bacon before air frying. The crispy bacon adds an irresistible crunch and smoky flavor.
Conclusion
Chicken livers beautifully adapt to the air frying technique, allowing you to savor a healthier yet exquisitely delicious dish. We’ve explored the science behind air frying, discussed culinary details, and guided you through the process of selecting, cleaning, and preparing chicken livers for the air fryer. Our comprehensive tips, doneness checks, and recipe ensure your air fried chicken livers will be a savory sensation every time. So go ahead, indulge in this delectable delicacy, and savor the delightful crunch and creamy texture with each bite.
Sources
FAQS On Chicken Livers Air Fryer Recipe
What Are The Ingredients Needed For A Chicken Livers Air Fryer Recipe?
The ingredients typically include chicken livers, olive oil, salt, pepper, and any additional seasonings or herbs of your choice.
How Do I Prepare Chicken Livers For Air Frying?
First, trim the connective tissue and fat from the chicken livers. Then, rinse the livers and pat them dry with a paper towel.
What Temperature And Time Settings Should I Use For Air Frying Chicken Livers?
The recommended temperature for air frying chicken livers is 375°F for 12-15 minutes, depending on the size and thickness of the livers.
Can I Marinate Chicken Livers Before Air Frying Them?
Yes, you can marinate the chicken livers in a mixture of spices, herbs, and acids for added flavor. However, be sure to pat the livers dry before placing them in the air fryer.
How Do I Know If The Chicken Livers Are Fully Cooked In The Air Fryer?
The internal temperature of the chicken livers should reach 165°F when fully cooked. You can use a meat thermometer to ensure that they are safe to eat.
What Are Some Serving Suggestions For Chicken Livers Air Fryer Recipe?
Some popular serving suggestions for chicken livers include serving them with a side of vegetables, rice, or quinoa. You can also add them to salads or serve them as an appetizer.
Are There Any Tips For Making Chicken Livers In The Air Fryer?
To ensure that the chicken livers are evenly cooked, arrange them in a single layer in the air fryer basket and avoid overcrowding. You can also brush them with a little olive oil halfway through the cooking time to prevent them from drying out.

