

How To Cook Chicken Fingers In Air Fryer [FULL GUIDE]
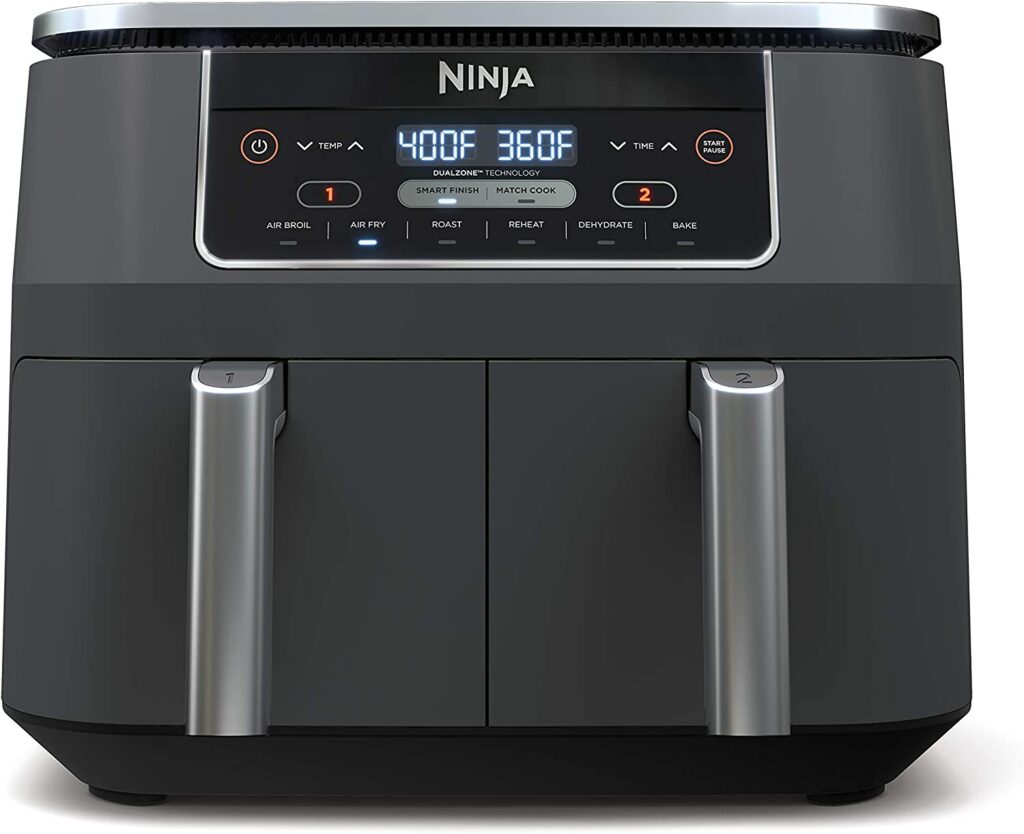
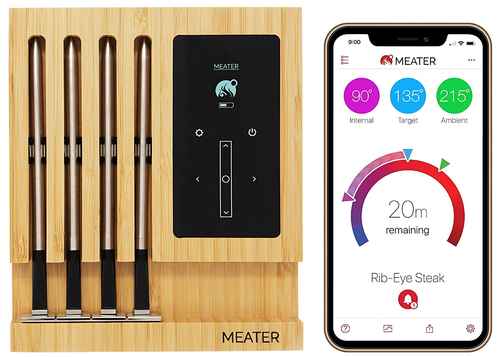
Recommended Equipments:
Chicken fingers-crispy on the outside, tender and juicy on the inside-are a beloved comfort food for people of all ages. Traditionally deep-fried, these delectable strips of breaded chicken have become even more accessible and healthier with the advent of air fryers. Air frying offers the golden-brown crunch of deep-fried chicken with a fraction of the oil, reducing calories and mess while still delivering irresistible flavor. However, achieving the perfect chicken fingers in an air fryer requires understanding the nuances of temperature, timing, and preparation. This guide will explore everything from optimal cooking temperatures to troubleshooting tips, ensuring that every batch comes out golden, juicy, and utterly satisfying.
Optimal Air Fryer Temperature To Cook Chicken Fingers In Air Fryer
The air fryer is essentially a mini convection oven that circulates hot air around the food to cook it evenly. Temperature control is crucial because chicken fingers need a balance of heat to cook through the meat while developing a crisp, golden crust.
The optimal temperature for air frying chicken fingers is around 400°F (200°C). This temperature is high enough to ensure the exterior crisps quickly, sealing in the natural juices of the chicken. If the temperature is too low, the breading may turn soggy, and the chicken might dry out as it cooks slowly. Conversely, a temperature too high can burn the coating before the meat is fully cooked.
For thicker chicken strips or extra-crispy breading, you can experiment slightly with 390-410°F (199-210°C), but 400°F remains the most reliable starting point.
How Long To Cook Chicken Fingers In Air Fryer
Cooking time is closely linked with temperature. At 400°F, most chicken fingers will take about 10-12 minutes to cook. For uniform results, it’s crucial to flip them halfway through the cooking process. This ensures both sides achieve a consistent golden-brown crust.
If your chicken fingers are particularly thin, they may only need 8-10 minutes, while thicker cuts or homemade, breaded chicken may require 12-15 minutes. The key is balancing the cook time so that the exterior crisps without overcooking the chicken inside.
How To Tell If It Is Done
Checking doneness is essential to prevent undercooked or dry chicken. Here’s how to ensure your chicken fingers are perfectly cooked:
- Internal Temperature: Use a meat thermometer. Chicken fingers are safe to eat when they reach an internal temperature of 165°F (74°C).
- Color and Juices: The chicken should be opaque throughout, and the juices should run clear. Any pinkish hue or cloudy juices indicate undercooking.
- Texture: Properly cooked chicken fingers are firm but tender, with a slight give when pressed. Overcooked chicken will feel dry and tough.
Ingredients Needed
To make classic air fryer chicken fingers, you’ll need:
- Chicken breasts or tenders – cut into finger-sized strips
- Flour – for initial dredging
- Eggs – beaten, for coating
- Breadcrumbs – preferably panko for extra crunch
- Seasonings – salt, pepper, garlic powder, paprika, and optional herbs
- Cooking spray or a small amount of oil – to enhance browning
Optional additions: parmesan cheese, cayenne pepper for heat, or a mix of herbs in the breadcrumb coating.
How To Cook Chicken Fingers In Air Fryer
- Prepare the Chicken: Pat the chicken fingers dry to help the coating stick. Season lightly with salt and pepper.
-
Bread The Chicken
- Dredge in flour, shaking off excess.
- Dip in beaten eggs.
- Coat evenly with breadcrumbs mixed with your preferred seasonings.
- Preheat the Air Fryer: Preheat to 400°F (200°C) for 3-5 minutes.
- Arrange Chicken Fingers: Place them in a single layer in the basket, leaving small gaps for airflow. Avoid overcrowding.
- Cook: Air fry at 400°F for 10-12 minutes, flipping halfway through. Spray lightly with oil to enhance crispiness if desired.
- Check Doneness: Ensure the internal temperature reaches 165°F (74°C).
- Serve: Let rest for 2 minutes before serving. Pair with dipping sauces like honey mustard, BBQ, or ranch.
What If I Use A Different Air Fryer Temperature?
Adjusting the temperature affects cooking dynamics:
- Lower Temperature (350-375°F / 175-190°C): The chicken will cook more gently, reducing the risk of burning but requiring more time (12-16 minutes). The crust may be less crispy.
- Higher Temperature (425-450°F / 220-230°C): Chicken cooks faster, and the coating browns quickly. However, the risk of a dry interior or burnt breadcrumbs increases. Monitor closely and reduce cooking time accordingly.
What If I Use A Different Air Fryer Cooking Time?
Cooking time variations impact texture and safety:
- Shorter Time: The coating may be golden, but the chicken may remain undercooked inside. Always check internal temperature.
- Longer Time: The chicken will be fully cooked, but the exterior may dry out or burn. Consider reducing temperature slightly if extending time.
Timing adjustments should always go hand in hand with temperature tweaks for best results.
When Things Go Wrong
Even with an air fryer, mistakes happen. Common issues include:
- Soggy Coating: Usually caused by overcrowding or excess moisture. Ensure pieces are dry and spaced out.
- Undercooked Chicken: Often due to too low temperature or insufficient time. Use a thermometer.
- Burned Crust: Typically from too high temperature or cooking too long. Reduce temperature or check midway.
- Uneven Cooking: Turn the chicken halfway through and shake the basket if necessary.
Expert Tips
- Use Panko Breadcrumbs: For a light, crunchy exterior.
- Spray Lightly with Oil: Helps achieve that golden-brown finish without deep frying.
- Do Not Overcrowd: Air needs space to circulate for even cooking.
- Experiment with Seasoning: Mix paprika, garlic powder, cayenne, and parmesan for restaurant-style flavor.
- Preheat the Air Fryer: Ensures immediate crisping and prevents sticking.
- Check Internal Temperature: Always prioritize food safety.
FAQs
What Temperature Should I Set My Air Fryer To For Cooking Chicken Fingers?
For crispy and fully cooked chicken fingers, preheat your air fryer to 400°F (200°C). This temperature allows the breading to crisp up while ensuring the chicken inside is cooked through.
How Long Does It Take To Cook Chicken Fingers In An Air Fryer?
Cooking time typically ranges from 10 to 15 minutes, depending on the size and thickness of the chicken fingers. Flip them halfway through cooking to achieve an even golden-brown crust.
Do I Need To Use Oil When Cooking Chicken Fingers In An Air Fryer?
While air fryers require less oil than traditional frying, lightly spraying or brushing the chicken fingers with cooking oil helps them achieve a golden, crispy texture.
Can I Cook Frozen Chicken Fingers Directly In The Air Fryer?
Yes, frozen chicken fingers can be cooked in the air fryer without thawing. Increase the cooking time by 3-5 minutes and check that the internal temperature reaches 165°F (74°C) for safe consumption.
Should I Preheat The Air Fryer Before Cooking Chicken Fingers?
Preheating is recommended for even cooking and optimal crispiness. A 3-5 minute preheat at 400°F (200°C) ensures the chicken fingers start cooking immediately upon placement in the basket.
How Can I Prevent Chicken Fingers From Sticking To The Air Fryer Basket?
Lightly coat the basket with non-stick spray or use parchment paper designed for air fryers. Make sure to leave space between the chicken fingers for proper air circulation.
How Do I Know When Chicken Fingers Are Fully Cooked In An Air Fryer?
Check that the internal temperature reaches 165°F (74°C) using a meat thermometer. The exterior should be golden brown and crispy, and the inside should be opaque and tender without any pinkness.