
How To Make Fried Chicken Legs In Air Fryer [FULL GUIDE]
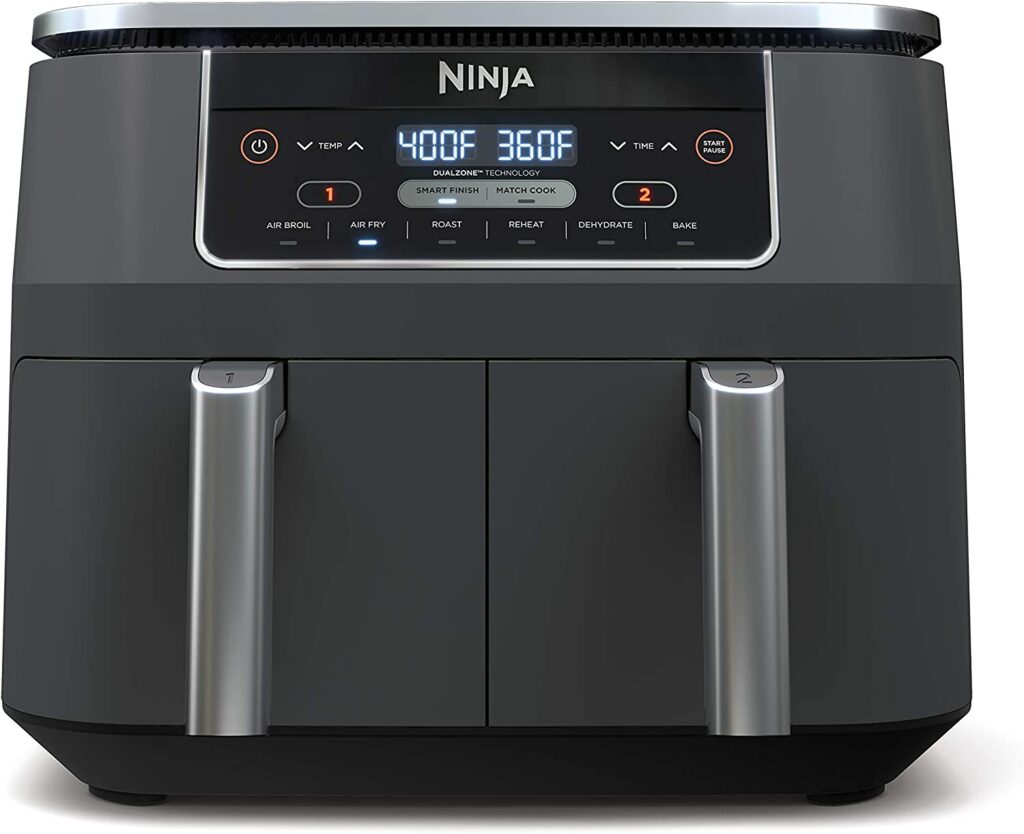
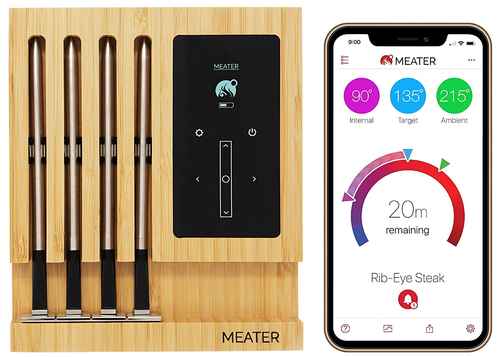
Recommended Equipments:
Fried chicken legs are a quintessential comfort food, beloved for their crispy, golden exterior and juicy, tender interior. Traditionally, deep-frying has been the method of choice, but the rise of the air fryer has revolutionized how we approach this classic dish. Air frying offers a healthier alternative, cutting down on excess oil without sacrificing the satisfying crunch and savory flavor. Mastering fried chicken legs in an air fryer involves understanding temperature control, cooking time, and seasoning nuances. This guide will take you step by step through the process, ensuring you achieve a perfectly cooked, golden-brown result every time.
Optimal Air Fryer Temperature To Make Fried Chicken Legs In Air Fryer
The temperature is critical to achieving that ideal balance between a crispy exterior and a moist interior. For chicken legs, an air fryer temperature of 375°F (190°C) is generally optimal. This temperature allows the skin to crisp up without overcooking the meat inside. Lower temperatures may result in uneven cooking, leaving the chicken undercooked, while higher temperatures could burn the coating before the meat has fully cooked. Some chefs recommend starting at 360°F (182°C) for the first few minutes and then increasing to 400°F (204°C) to achieve maximum crispiness, but 375°F is the sweet spot for consistent results.
How Long To Make Fried Chicken Legs In Air Fryer
Cooking time varies depending on the size of the chicken legs and the air fryer model, but a general guideline is 25-30 minutes. It is recommended to flip the chicken halfway through cooking, usually around the 12-15 minute mark, to ensure even browning on all sides. Smaller legs may cook slightly faster, while larger ones might need a few extra minutes. The goal is to allow the interior to reach a safe temperature while achieving a golden, crispy exterior.
How To Tell If It Is Done
Determining doneness is crucial for both safety and taste. The most reliable method is using a meat thermometer. Insert it into the thickest part of the chicken leg, avoiding the bone. The internal temperature should reach 165°F (74°C). Additionally, the juices should run clear, and the meat should feel firm yet tender when pressed. Visual cues such as a golden-brown color and a crisp texture on the skin are also helpful indicators.
Ingredients Needed
- 4-6 chicken legs (drumsticks)
- 2 tablespoons olive oil or melted butter
- 1 cup all-purpose flour or a gluten-free alternative
- 1 teaspoon paprika
- 1 teaspoon garlic powder
- 1 teaspoon onion powder
- ½ teaspoon cayenne pepper (optional for heat)
- 1 teaspoon salt
- ½ teaspoon black pepper
- Cooking spray (optional, for extra crisp)
How To Make Fried Chicken Legs In Air Fryer
- Prep the Chicken: Pat the chicken legs dry with paper towels. Dry skin ensures better crisping.
- Season the Chicken: Rub the chicken legs with olive oil or melted butter. In a separate bowl, mix the flour, paprika, garlic powder, onion powder, cayenne, salt, and pepper. Coat each leg evenly with the seasoned flour mixture.
- Preheat the Air Fryer: Preheating for 3-5 minutes ensures the chicken cooks evenly from the start.
- Cook the Chicken: Place the legs in the air fryer basket, leaving space between each piece. Set the air fryer to 375°F (190°C) for 25-30 minutes. Flip halfway through.
- Check for Doneness: Use a meat thermometer to confirm the internal temperature is 165°F (74°C).
- Rest and Serve: Allow the chicken legs to rest for 3-5 minutes before serving. This locks in the juices and enhances flavor.
What If I Use A Different Air Fryer Temperature?
Adjusting the temperature can significantly affect both texture and cooking time. Lower temperatures (around 350°F / 177°C) will cook the chicken more slowly, which may result in juicier meat but less crisp skin. Higher temperatures (400°F / 204°C) will create a darker, crunchier exterior, but the risk of undercooked interiors or burnt coating increases. Always adjust cooking time accordingly if you deviate from the recommended 375°F.
What If I Use A Different Air Fryer Cooking Time?
Shortening the cooking time risks leaving the chicken undercooked and unsafe to eat. Extending the cooking time can dry out the meat and over-crisp the coating. Always monitor doneness with a meat thermometer rather than relying solely on time. Adjustments should be minor-usually in 2-5 minute increments-while keeping an eye on color and texture.
When Things Go Wrong
Sometimes, things don’t go as planned:
- Chicken is undercooked inside but crispy outside: Reduce the temperature slightly and cook longer, or cover the chicken with foil for the final minutes to allow internal cooking without burning the skin.
- Chicken is dry: This usually means overcooking. Reduce time or lower temperature next time, and consider brining the chicken beforehand for extra moisture.
- Coating falls off: Ensure the chicken is well-oiled and the flour mixture is pressed onto the skin. Preheating the air fryer also helps the coating stick.
Expert Tips
- Brine for Juiciness: A quick brine in saltwater for 30 minutes can dramatically improve tenderness.
- Use a Light Oil Spray: Spraying a thin layer of oil on the coated chicken enhances browning.
- Don’t Overcrowd the Basket: Leaving space between pieces ensures even air circulation and crisping.
- Double-Coat for Extra Crunch: Dip chicken in a beaten egg before re-coating with flour for a thicker, crunchier crust.
- Check Early and Often: Air fryers vary, so start checking doneness a few minutes before the recommended time.
FAQs
Do I Need To Marinate Chicken Legs Before Air-frying?
Marinating is optional but recommended. A simple marinade of buttermilk or a seasoned brine improves tenderness and helps the coating adhere better. If you skip marinating, pat the chicken legs dry before seasoning.
How Long Should I Cook Chicken Legs In An Air Fryer?
Most chicken legs cook in 22-28 minutes at 380-400°F (193-204°C). Cook time varies by air fryer model and drumstick size. Always check that the internal temperature reaches 165°F (74°C).
How Do I Get The Coating Crispy Without Deep-frying?
Use a light layer of oil spray on the coated chicken legs before cooking. Also avoid overcrowding the basket so hot air can circulate evenly, which enhances crispiness.
Should I Use Flour Or Breadcrumbs For The Coating?
You can use either. A seasoned flour mixture creates a classic fried-chicken style crust, while panko breadcrumbs provide a crunchier, lighter texture. Some recipes combine both for maximum crispiness.
Do I Need To Flip The Chicken Legs Halfway Through?
Yes. Flipping the chicken legs at about the halfway point ensures even browning and prevents soggy spots where the coating sits directly on the basket.
Can I Stack Chicken Legs In The Air Fryer?
Stacking is not recommended. Overlapping pieces prevents proper airflow and leads to uneven cooking. Place the drumsticks in a single layer with space between each piece.
How Do I Prevent The Coating From Falling Off?
Pat the chicken dry, dredge thoroughly, and press the coating firmly onto the surface. After coating, let the chicken rest for 5-10 minutes to help the crust set before air-frying.