

How To Cook Duck Breast In Air Fryer [FULL GUIDE]
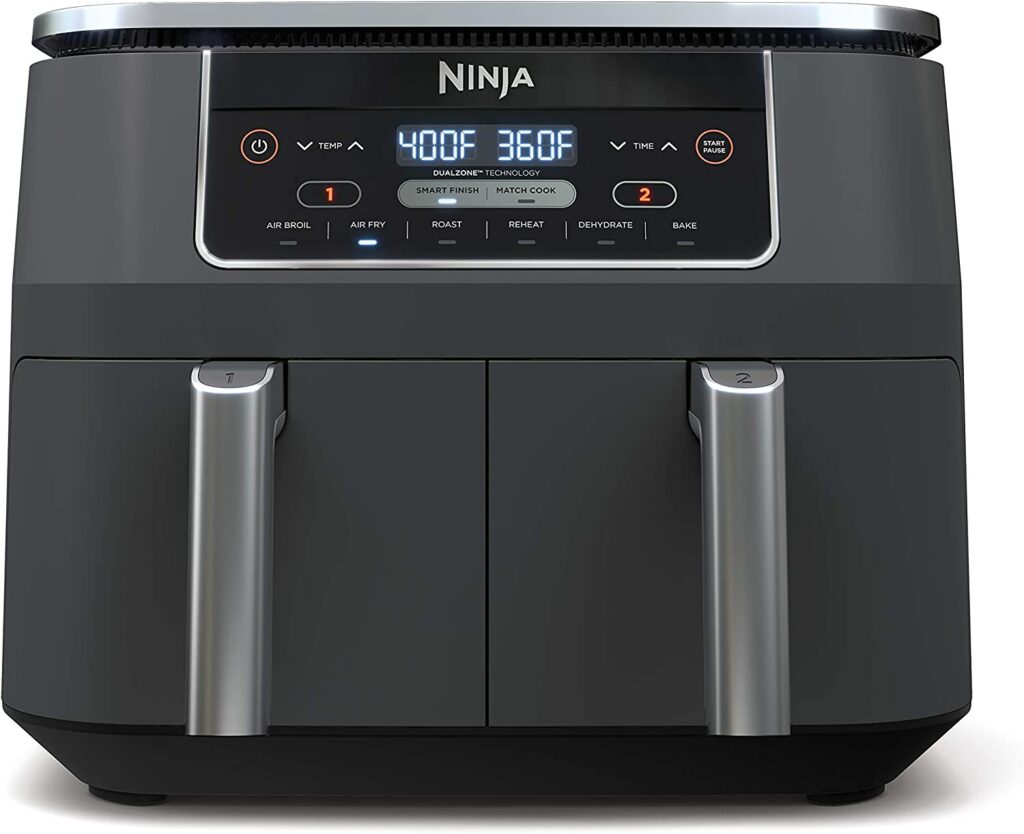
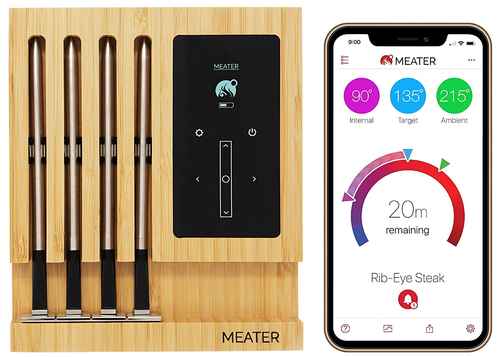
Recommended Equipments:
Duck breast is a luxurious, flavorful cut of meat prized for its rich, gamey taste and delicate texture. Unlike chicken or turkey, duck carries a higher fat content, particularly in the skin, which when rendered properly, imparts a crispy, golden exterior while maintaining a tender, succulent interior. Cooking duck breast in an air fryer has emerged as a modern, efficient method that combines speed, precision, and health-conscious cooking. Unlike traditional pan-searing or oven roasting, the air fryer circulates hot air around the meat, effectively crisping the skin and evenly cooking the meat with minimal added fat. However, achieving the perfect balance between a crispy exterior and a juicy interior requires careful attention to temperature, timing, and technique.
This guide will explore the optimal approach to air-frying duck breast, offering expert insights, troubleshooting advice, and culinary tips to ensure a consistently impressive result. Whether you are a seasoned chef or a home cook seeking to elevate your duck breast game, this guide covers everything you need to know.
Optimal Air Fryer Temperature To Cook Duck Breast In Air Fryer
Temperature control is the cornerstone of cooking duck breast successfully in an air fryer. The ideal temperature is generally 375°F (190°C). This temperature allows the fat beneath the skin to render slowly, crisping the skin without overcooking the meat. If the temperature is too high, the exterior may burn before the interior reaches the desired doneness. Conversely, too low a temperature will prevent the skin from crisping, resulting in a chewy or fatty texture.
Some chefs may choose a two-stage approach: starting at a higher temperature, such as 400°F (205°C), for the first 5-7 minutes to jumpstart the skin crisping, then lowering to 350°F (175°C) for the remainder of the cooking time. This method mimics traditional pan-searing techniques while taking advantage of the air fryer’s even heat circulation. Ultimately, moderate heat is essential for balancing skin crispiness and meat juiciness.
How Long To Cook Duck Breast In Air Fryer
The cooking duration depends on the size and thickness of the duck breast. For a standard 6-8 ounce (170-225g) breast:
- 375°F (190°C): 15-20 minutes for medium-rare to medium doneness.
- Flip halfway: Turn the duck breast skin-side down midway through cooking to ensure even crisping.
Cooking time can be adjusted depending on thickness:
- Thicker cuts (>1.5 inches / 4 cm): May require an additional 3-5 minutes.
- Thinner cuts (<1 inch / 2.5 cm): Could finish in as little as 12-14 minutes.
Precise timing is crucial; overcooking can dry the meat, while undercooking leaves it tough or gelatinous.
How To Tell If It Is Done
Duck breast is best enjoyed medium-rare to medium. To check for doneness:
-
Internal Temperature: Use a meat thermometer inserted into the thickest part of the breast.
- Medium-rare: 135°F (57°C)
- Medium: 140-145°F (60-63°C)
- Touch Test: The meat should feel firm but still springy to the touch.
- Juices: When pricked lightly, the juices should be slightly pink; clear juices indicate well-done.
Avoid cutting too early; resting the meat for 5-10 minutes after cooking allows the juices to redistribute, preserving moisture and tenderness.
Ingredients Needed
For a classic air-fried duck breast, you’ll need:
- 2 duck breasts, skin-on, trimmed of excess fat
- Salt (preferably kosher or sea salt)
- Freshly ground black pepper
- Optional aromatics: garlic powder, thyme, rosemary, or five-spice powder
- Optional glaze: honey, orange, or balsamic reduction for finishing
No oil is strictly necessary due to the fat content in the duck skin, though a light brushing can enhance crisping if desired.
How To Cook Duck Breast In Air Fryer
- Prepare the Duck: Pat the duck breasts dry with paper towels. Score the skin in a crisscross pattern, avoiding cutting into the meat. This promotes fat rendering.
- Season: Generously season both sides with salt, pepper, and any preferred aromatics.
- Preheat Air Fryer: Set to 375°F (190°C).
- Cook: Place the duck breasts skin-side up in the air fryer basket. Cook for 15-20 minutes, flipping halfway through.
- Check Doneness: Use a thermometer or touch test to verify internal temperature.
- Rest: Let the meat rest for 5-10 minutes before slicing.
- Serve: Slice thinly against the grain and drizzle with optional glaze or juices from the basket.
What If I Use A Different Air Fryer Temperature?
- Higher Temperature (400-420°F / 205-215°C): Skin will crisp faster, but the risk of overcooking the interior increases. Watch closely and reduce cooking time.
- Lower Temperature (350°F / 175°C): Safer for even cooking but may require longer cook times and may not achieve ultra-crispy skin.
The key is balancing skin crispness with proper internal doneness; small adjustments can dramatically affect texture.
What If I Use A Different Air Fryer Cooking Time?
- Shorter Time: The duck may be undercooked, with chewy fat and insufficiently rendered skin.
- Longer Time: The meat will dry out, and the fat may become brittle rather than pleasantly crisp.
Use cooking time adjustments only in conjunction with monitoring the internal temperature for consistent results.
When Things Go Wrong
- Skin Not Crispy: Pat dry thoroughly, score skin more deeply, or finish under the broiler for 1-2 minutes.
- Meat Overcooked: Reduce air fryer time and lower temperature next attempt; rest the meat before slicing to retain juices.
- Undercooked: Extend cooking time in 2-3 minute increments; always check temperature.
Air fryers vary in performance, so experimentation is sometimes necessary, especially with larger or unevenly thick breasts.
Expert Tips
- Score the Skin: Promotes even fat rendering and avoids rubbery skin.
- Dry Thoroughly: Moisture is the enemy of crisp skin.
- Rest After Cooking: Retains juices for maximum tenderness.
- Use a Meat Thermometer: Precision prevents guesswork.
- Consider a Glaze: Adds complexity and visual appeal without masking the natural flavor.
- Flip Halfway: Ensures even browning and crispiness.
FAQs
What Temperature Should I Cook Duck Breast In An Air Fryer?
The ideal temperature for cooking duck breast in an air fryer is generally 375°F (190°C). This allows the skin to crisp up while the meat remains tender. Some recipes may recommend starting at a higher temperature, like 400°F (205°C), for the first few minutes to render the fat, then lowering it to 375°F for the remainder of the cooking time.
How Long Does It Take To Cook Duck Breast In An Air Fryer?
Cooking time depends on the thickness of the duck breast and your preferred level of doneness. For a medium-rare duck breast, it usually takes 12-15 minutes at 375°F (190°C), flipping halfway through. Thicker breasts may require 16-18 minutes. Always check the internal temperature with a meat thermometer: 135°F (57°C) for medium-rare, 145°F (63°C) for medium.
Should I Score The Skin Of The Duck Breast Before Air Frying?
Yes, scoring the skin is highly recommended. Use a sharp knife to make shallow diagonal cuts across the skin, taking care not to cut into the meat. This helps render the fat, allowing the skin to become crispy while preventing the breast from steaming in its own fat.
Do I Need To Season The Duck Breast Before Air Frying?
Seasoning is essential. A simple seasoning of salt and pepper is sufficient, but you can also use garlic powder, paprika, or five-spice powder for added flavor. Rub the seasoning on both the skin and meat side, then let it rest at room temperature for 10-15 minutes before cooking to enhance flavor penetration.
Do I Need To Preheat The Air Fryer For Duck Breast?
Preheating the air fryer is recommended. Preheating to the target temperature ensures even cooking and helps the skin crisp up quickly. Preheat for about 3-5 minutes before placing the duck breast in the basket.
Should I Flip The Duck Breast During Cooking?
Yes, flipping the duck breast halfway through the cooking process promotes even browning and ensures that both sides are cooked properly. Typically, start with the skin side down to render fat, then flip halfway to finish cooking the meat side.
How Can I Tell When The Duck Breast Is Perfectly Cooked?
The most reliable method is to use a meat thermometer. For medium-rare, aim for an internal temperature of 135°F (57°C). Additionally, the skin should be golden brown and crisp, and the juices should run clear when the meat is gently pierced. After cooking, let the duck breast rest for 5-10 minutes to allow the juices to redistribute.