
How To Cook Duck Crown In Ninja Air Fryer [FULL GUIDE]
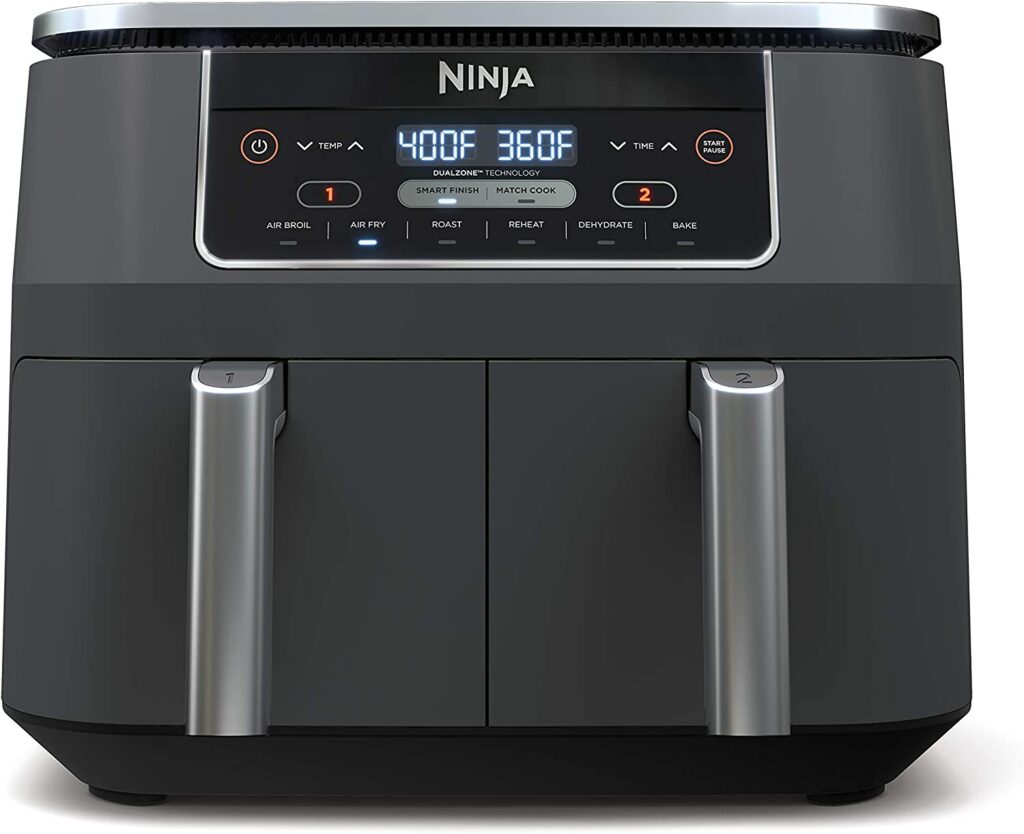
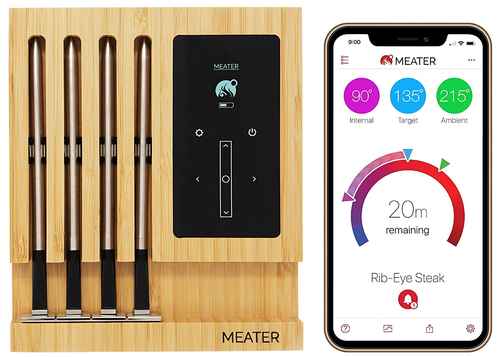
Recommended Equipments:
Cooking a duck crown-a luxurious cut that includes the breast and legs with the bone intact-can be intimidating for many home cooks. The rich, flavorful meat paired with a perfectly crisped skin requires precision and care, but with the modern convenience of an air fryer, achieving professional-level results at home has never been easier. The Ninja Air Fryer, with its precise temperature control and even air circulation, allows the duck crown to roast evenly, locking in its juices while producing golden, crackling skin. This guide dives deep into everything you need to know-from selecting the right temperature and timing to troubleshooting and perfecting your duck crown every time.
Optimal Air Fryer Temperature To Cook Duck Crown In Ninja Air Fryer
Temperature is one of the most critical factors when cooking duck, especially a duck crown. Duck has a high fat content beneath its skin, which can render unevenly if the temperature is too low or cook too quickly if the temperature is too high. For a Ninja Air Fryer, the optimal temperature for cooking a duck crown is 180°C (356°F). This moderate-high heat allows the fat to render slowly, keeping the meat moist while ensuring the skin crisps beautifully without burning.
A few temperature nuances to consider:
- Lower than 170°C (338°F): The duck will cook slowly, potentially resulting in under-crisped skin. You may need to extend the cooking time considerably.
- Above 200°C (392°F): Skin will brown quickly, but the interior may remain undercooked, and there’s a higher risk of unevenly cooked meat.
The Ninja Air Fryer excels here due to its consistent airflow, which ensures the duck crown cooks evenly on all sides without requiring flipping or rotating.
How Long To Cook Duck Crown In Ninja Air Fryer
Cooking time depends on the weight of the duck crown. A general guideline is:
- Small duck crown (1-1.2 kg / 2.2-2.6 lbs): 45-50 minutes
- Medium duck crown (1.3-1.5 kg / 2.8-3.3 lbs): 50-55 minutes
- Large duck crown (1.6-2 kg / 3.5-4.4 lbs): 55-65 minutes
A key tip is to start checking doneness around 5-10 minutes before the estimated time. Air fryers can vary slightly in intensity, and external factors such as starting temperature of the meat can affect the exact cooking duration.
How To Tell If It Is Done
Unlike chicken, duck is best served slightly pink in the center rather than fully gray and overcooked. To check:
- Internal temperature: Insert a meat thermometer into the thickest part of the breast. The ideal temperature is 57-60°C (135-140°F) for medium-rare and 65°C (149°F) for medium.
- Skin appearance: The skin should be deep golden-brown, crispy, and slightly firm to the touch.
- Juices: When pierced, the juices should run clear but may have a slight pink tint in medium-rare.
Avoid relying solely on timing; the thermometer is the most reliable indicator of perfectly cooked duck.
Ingredients Needed
To achieve a succulent, flavorful duck crown, you’ll need:
- 1 duck crown (1-2 kg / 2.2-4.4 lbs)
- 1-2 teaspoons sea salt (or kosher salt)
- 1 teaspoon freshly ground black pepper
- 1 teaspoon garlic powder (optional)
- 1 teaspoon paprika or smoked paprika (optional, enhances color)
- 1-2 sprigs of fresh thyme or rosemary (optional, for aroma)
- 1 tablespoon olive oil or melted butter
Optional for serving: orange segments, cranberry sauce, or a red wine reduction.
How To Cook Duck Crown In Ninja Air Fryer
-
Preparation
- Pat the duck crown dry with paper towels to remove excess moisture.
- Score the skin lightly in a crisscross pattern, avoiding the meat, to help render fat evenly.
- Rub the duck with salt, pepper, and optional seasonings. Let it rest at room temperature for 15-20 minutes.
-
Air Frying
- Preheat the Ninja Air Fryer to 180°C (356°F).
- Place the duck crown skin-side up in the basket; avoid overcrowding.
- Cook for 45-65 minutes depending on size, checking internal temperature after 40 minutes.
- Optional: For extra-crispy skin, increase the temperature to 200°C (392°F) during the last 5-7 minutes, watching carefully to prevent burning.
-
Resting
- Remove the duck crown and tent loosely with foil. Let it rest for 10-15 minutes before carving. This allows juices to redistribute and keeps the meat moist.
What If I Use A Different Air Fryer Temperature?
Changing the temperature will affect both texture and cooking time:
- Lower temperatures (160-170°C / 320-338°F): The duck will cook more gently, producing extremely tender meat but less crispy skin. Add 10-15 minutes of cooking time.
- Higher temperatures (190-200°C / 374-392°F): The skin will crisp faster, but internal meat may remain undercooked. Reduce cooking time slightly and monitor with a thermometer.
Temperature tweaks are possible but require careful observation to avoid dry meat or burnt skin.
What If I Use A Different Air Fryer Cooking Time?
Altering cooking time impacts doneness and texture:
- Shorter cooking time: Meat may be undercooked. Always verify with a thermometer before serving.
- Longer cooking time: Risk of dry meat, though skin will be extra crispy. Resting after cooking can mitigate some dryness.
Always adjust time based on the duck’s weight, starting temperature, and your air fryer’s performance. A thermometer is your safeguard.
When Things Go Wrong
Even with careful attention, issues can arise:
- Skin not crispy: Likely caused by excess moisture. Pat dry thoroughly, score skin, and increase temperature at the end.
- Meat undercooked: Either the temperature was too low or the duck was too large. Extend cooking time and check with a thermometer.
- Meat dry: Possibly overcooked. Let the meat rest to retain moisture next time and monitor internal temperature closely.
Expert Tips
- Score the skin carefully: Avoid cutting into meat to ensure fat renders without losing juices.
- Room temperature duck: Letting the duck sit at room temperature before cooking ensures even cooking.
- Rotate if necessary: Some air fryers have hotspots; rotate the basket halfway for uniform browning.
- Save rendered fat: Duck fat can be used for roasting vegetables or potatoes.
- Thermometer is essential: Visual cues are helpful, but temperature ensures perfection.
FAQs
What Is A Duck Crown And Why Is It Ideal For Air Frying?
A duck crown is a preparation of duck where the breast meat is left on the bone with the legs removed, forming a circular ’crown’ shape. This cut is ideal for air frying because it allows even cooking, crisp skin, and juicy meat, while the compact shape fits easily into an air fryer basket.
How Do I Prepare A Duck Crown Before Air Frying?
Begin by patting the duck crown dry to remove excess moisture, which helps achieve crisp skin. Score the skin lightly in a crosshatch pattern to allow fat to render. Season with salt, pepper, and optional herbs or spices. Some recipes recommend marinating for a few hours for extra flavor.
What Temperature And Time Should I Cook A Duck Crown In A Ninja Air Fryer?
Set the air fryer to 180-200°C (350-390°F). Cook the duck crown for approximately 25-35 minutes, depending on size and desired doneness. Check the internal temperature with a meat thermometer; the breast should reach 63°C (145°F) for medium rare, or 70°C (160°F) for well done.
Should I Use Oil When Cooking A Duck Crown In An Air Fryer?
Duck releases a significant amount of its own fat, so additional oil is optional. Lightly brushing the skin with a small amount of oil can enhance crisping, but the natural fat will largely suffice for a golden, crispy exterior.
How Do I Ensure The Skin Is Crispy Without Overcooking The Meat?
Crisp the skin by starting at a higher temperature (around 200°C / 390°F) for the first 10 minutes, then reduce to 180°C (350°F) for the remainder of the cooking. Scoring the skin and avoiding overcrowding in the air fryer basket also allows hot air to circulate evenly.
Do I Need To Rest The Duck Crown After Air Frying?
Yes, resting is important. Remove the duck crown from the air fryer and let it rest for 10-15 minutes. This allows the juices to redistribute, resulting in more tender meat, and prevents the juices from running out when carving.
What Sides Or Sauces Pair Well With Air-fried Duck Crown?
Classic accompaniments include roasted or air-fried vegetables, mashed potatoes, or rice. Fruit-based sauces such as orange, cherry, or plum complement the richness of duck, while a simple pan jus made from rendered duck fat and stock enhances the natural flavors.