
How To Cook Garlic Bread In Air Fryer [FULL GUIDE]
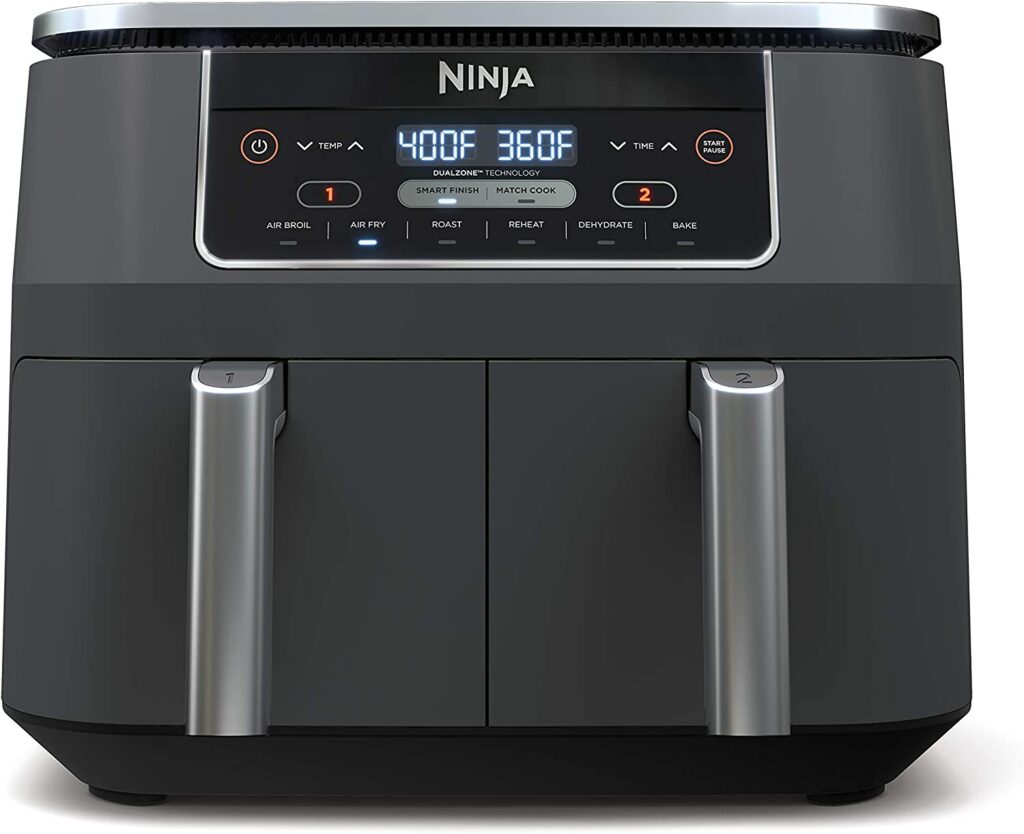
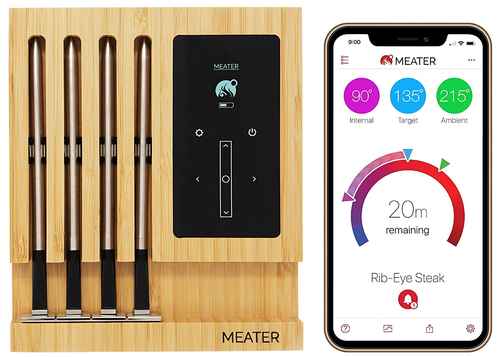
Recommended Equipments:
Garlic bread is one of those universally beloved sides that effortlessly elevates almost any meal. Crisp on the outside, soft and buttery inside, and permeated with the unmistakable aroma of roasted garlic, it’s the perfect companion to pasta, soups, salads, or even as a snack all on its own. Traditionally, garlic bread is baked in the oven, but using an air fryer unlocks a quicker, more consistent, and often more flavorful result.
The powerful, circulating heat of an air fryer mimics convection-oven cooking but in a smaller, more controlled environment. This means your garlic bread develops a beautifully golden crust while staying tender in the middle, and it does so in minutes rather than the lengthy preheating and baking times associated with conventional ovens.
This guide dives deeply into everything you need to know: temperatures, timing, troubleshooting, variations, and expert-level tips. Whether you’re using premade garlic bread, frozen slices, or making it entirely from scratch, you’ll be equipped to create flawless air-fried garlic bread every time.
Optimal Air Fryer Temperature To Cook Garlic Bread In Air Fryer
The ideal temperature to cook garlic bread in an air fryer is 350°F (175°C).
This temperature strikes the perfect balance between crisping the exterior and warming the interior thoroughly without burning the edges. At higher temperatures, the butter or cheese can scorch before the bread has time to soften; at lower temperatures, the bread can dry out before achieving caramelization.
Air fryers vary, but 350°F consistently delivers a golden, even, aromatic result across most models.
How Long To Cook Garlic Bread In Air Fryer
Cooking time depends on the type and thickness of your garlic bread:
Fresh Homemade Garlic Bread
- Thick slices or baguette halves: 5-7 minutes
- Thin slices: 3-5 minutes
Store-Bought Refrigerated Garlic Bread
- Typically 4-6 minutes
Frozen Garlic Bread
- 6-10 minutes, depending on thickness and brand
Because air fryers heat rapidly and with great intensity, always check a minute or two before the minimum suggested cook time. Garlic bread transitions from perfectly toasted to overly browned quickly.
How To Tell If The Garlic Bread Is Done
Signs that your garlic bread has reached optimal doneness:
- Golden Edges: The edges should be lightly browned with a crisp texture.
- Buttery Surface: The butter and garlic mixture should be melted completely and slightly bubbling.
- Crisp Exterior, Tender Middle: Press gently on the center; it should feel soft but not soggy.
- Aromatic Garlic Scent: The aroma intensifies when the garlic and butter have properly infused into the bread.
If you’re using cheese, it should be fully melted and starting to turn golden.
Ingredients Needed
For Homemade Garlic Bread
- Bread (baguette, Italian loaf, ciabatta, or thick-cut sandwich bread)
- Unsalted butter, softened
- Garlic, minced (fresh is ideal)
- Fresh parsley or dried Italian herbs
- Salt
-
Optional additions:
- Parmesan or mozzarella cheese
- Crushed red pepper flakes
- Olive oil
- Garlic powder for extra depth
For Store-Bought Garlic Bread
Simply the product itself, either fresh or frozen.
How To Cook Garlic Bread In Air Fryer
Prepare The Bread
Slice your bread evenly. For maximum surface area and flavor penetration, cut baguettes lengthwise.
Make Your Garlic Butter
Blend softened butter with minced garlic, salt, and herbs. Spread generously over each bread piece. The goal is full coverage without oversaturating the bread.
Preheat The Air Fryer
Some air fryers don’t require preheating, but if yours does, set it to 350°F and allow 2-3 minutes of preheat time.
Arrange The Bread
Place the bread in a single layer in the air fryer basket. Do not stack or overlap, as this prevents even cooking.
Air Fry
Cook at 350°F for 3-7 minutes, depending on thickness and whether it’s fresh or frozen.
Check For Doneness
Look for golden browning and melted butter. Add an extra 1-2 minutes if needed.
Serve Immediately
Garlic bread is best enjoyed fresh, when its textures and aromas are at their peak.
What If I Use A Different Air Fryer Temperature?
Altering the temperature can lead to different outcomes:
Higher Temperature (375-400°F)
- Pros: Faster browning
- Cons: Higher risk of burning garlic, drying bread, or over-browning before the center warms
Lower Temperature (300-325°F)
- Pros: More gentle, even heating
- Cons: Bread may become dry rather than crisp
- Butter may soak too deeply, causing sogginess
Staying close to 350°F offers the best balance, but adjustments can be made depending on your model or preference for extra crispiness.
What If I Use A Different Air Fryer Cooking Time?
Cooking for too little or too long creates noticeable differences:
Too Short
- Bread is warm but lacks crispness
- Butter may remain unmelted in places
- Garlic flavor may not fully bloom
Too Long
- Garlic can turn bitter
- Bread can become hard or overly crunchy
- Cheese may burn or dry out if used
If unsure, check in 1-minute increments to avoid overcooking. Air fryers are powerful, and a minute can make a dramatic difference.
When Things Go Wrong
Even seasoned cooks run into challenges. Here’s how to troubleshoot:
Bread Burned But Butter Not Melted
The temperature may be too high or the bread may have been placed too close to the heating element.
Soggy Bottom
The bread was too thick or overspread with butter. Reduce butter or increase cooking time.
Garlic Tastes Bitter
Fresh garlic burns easily. Use a slightly lower temperature or mix in a bit of garlic powder to balance.
Cheese Not Melting
Add a minute or two at a lower temperature after initial browning.
Expert Tips
- Use Fresh Garlic: It offers deeper, more aromatic flavor.
- Toast First, Then Add Cheese: For perfectly melted cheese without burning.
- Brush with Oil Before Butter: Helps prevent sogginess and adds crispiness.
- Avoid Overcrowding: Air circulation is crucial for proper browning.
- Use Day-Old Bread: Slightly stale bread crisps exceptionally well.
- Check Early: Air fryers vary widely; always monitor closely.
- Layer Flavors: Combine fresh garlic, garlic powder, herbs, and a hint of Parmesan for complexity.
FAQs
What Type Of Garlic Bread Is Best For An Air Fryer?
Both pre-made frozen garlic bread and fresh homemade garlic bread work well in an air fryer. Fresh bread allows you to control the butter, garlic, and seasoning, while frozen options offer convenience. Use a bread that fits comfortably in your air fryer basket without overlapping.
What Temperature Should I Set My Air Fryer To For Garlic Bread?
The ideal temperature for cooking garlic bread in an air fryer is typically between 350°F to 400°F (175°C to 200°C). Lower temperatures will cook the bread more slowly without burning, while higher temperatures give a crispier exterior faster.
How Long Should Garlic Bread Be Cooked In An Air Fryer?
Cooking time depends on the bread type and thickness. Generally, fresh garlic bread takes 5-7 minutes at 375°F (190°C), and frozen garlic bread takes 7-10 minutes. It is recommended to check halfway through to ensure it does not overcook.
Should I Use Oil Or Butter When Cooking Garlic Bread In An Air Fryer?
Butter is preferred for garlic bread as it enhances flavor and creates a golden, crispy texture. Spread a thin, even layer of butter or garlic butter on the bread before air frying. Avoid using excessive oil, which can cause smoke or uneven cooking.
Do I Need To Preheat The Air Fryer For Garlic Bread?
Preheating the air fryer is recommended but not strictly necessary. Preheating for 2-3 minutes ensures more even cooking and crispier results. If you skip preheating, consider adding 1-2 extra minutes to the cooking time.
How Can I Prevent Garlic Bread From Burning In An Air Fryer?
To prevent burning, avoid overcrowding the basket and keep the temperature around 375°F (190°C). Check the bread halfway through cooking, and if edges brown too quickly, cover them loosely with foil. Using butter instead of oil also reduces the risk of burning.
Can I Add Extra Toppings To Garlic Bread Before Air Frying?
Yes, you can enhance garlic bread with toppings such as grated cheese, herbs, or chili flakes. Apply these toppings evenly on the buttered bread before cooking. For cheese, it’s best to add it halfway through cooking to prevent it from burning while the bread crisps.