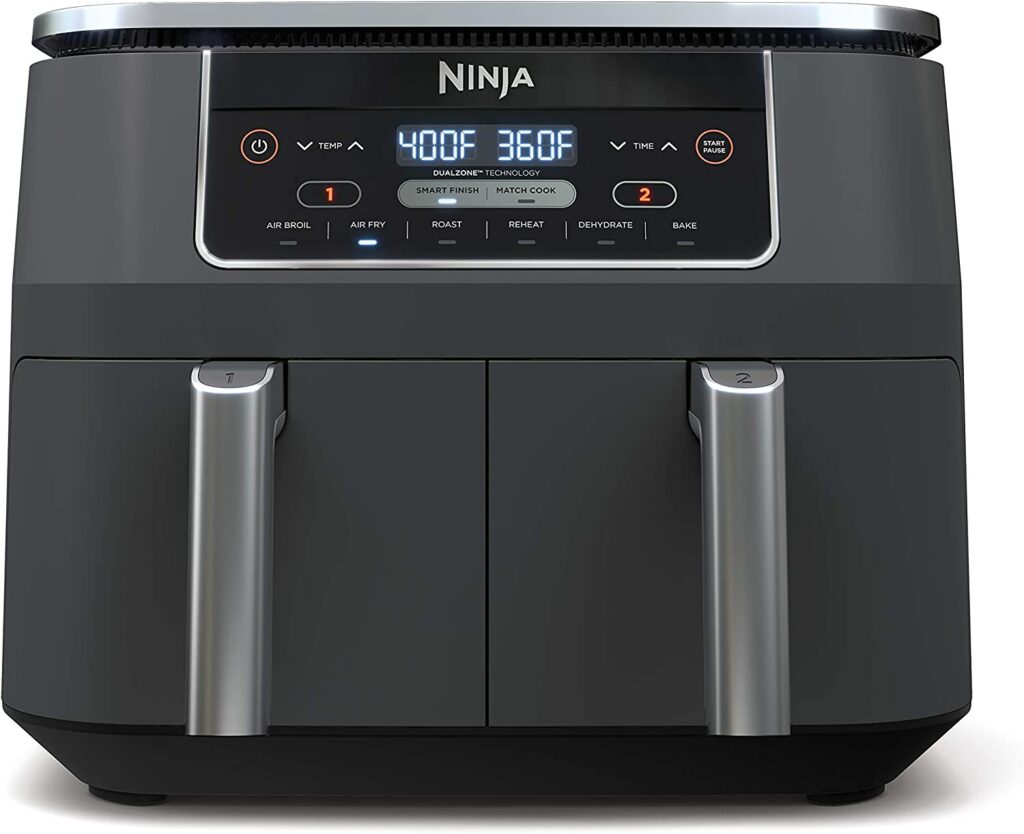
Duck Breast Air Fryer Recipe: The Perfect Blend Of Taste And Convenience
Are you a fan of juicy, tender, and flavorful duck breast? Do you own an air fryer and wonder how you can use this versatile appliance to create a mouthwatering duck breast dish? Look no further! In this comprehensive and in-depth article, we will guide you through every step of preparing a delectable duck breast utilizing the air fryer technique. From understanding the food science behind cooking duck breasts to selecting the perfect cut, cleaning, preparation, tips, variations, doneness checks, and finally, presenting you with an irresistible recipe, we’ve got it all covered for you. Let’s dive into the world of culinary excellence!
Understanding the Food Science Behind Cooking Duck Breasts
When it comes to cooking duck breasts, it’s crucial to understand the food science behind this succulent and unique meat. Duck breasts are primarily composed of lean meat surrounded by a layer of flavorful fat. This composition contributes to their rich taste and moist texture. However, it also poses a challenge in achieving the perfect balance of rendering fat while keeping the meat tender.
Cooking duck breast using an air fryer presents an excellent opportunity to control the rendering process with precision. The hot air circulates around the meat, enabling the fat to melt and render, while the meat gradually cooks to your desired level of doneness. This method yields a crispy skin and tender meat, delivering an unmatched culinary experience.
Culinary Details: Selecting the Perfect Duck Breast
To embark on our culinary journey, selecting the right duck breast is of utmost importance. Here are some factors to consider when making your choice:
-
Type of Duck: Common types of duck used for culinary purposes include Muscovy, Pekin, and Mallard. Muscovy duck is known for its lean meat, while Pekin and Mallard offer a balance between lean meat and fat. Select the type of duck that suits your preferences and availability.
-
Freshness: Always opt for fresh duck breasts. Look for plump, firm, and well-colored meat. Ensure there is no discoloration or strong odor, both of which indicate spoilage.
-
Skin Condition: The skin on the duck breast should have a light color and be well-intact. Avoid duck breasts with heavily torn or damaged skin, as it affects the cooking process.
-
Size and Thickness: Duck breasts come in various sizes and thicknesses. Larger duck breasts tend to have more fat, which can be advantageous in terms of rendering flavor. However, thickness plays a role in controlling the final doneness. Thicker cuts will require more cooking time to reach the desired level of doneness.
Consider these factors while selecting your duck breast to ensure the best results.
Cleaning and Preparation: Setting the Foundation
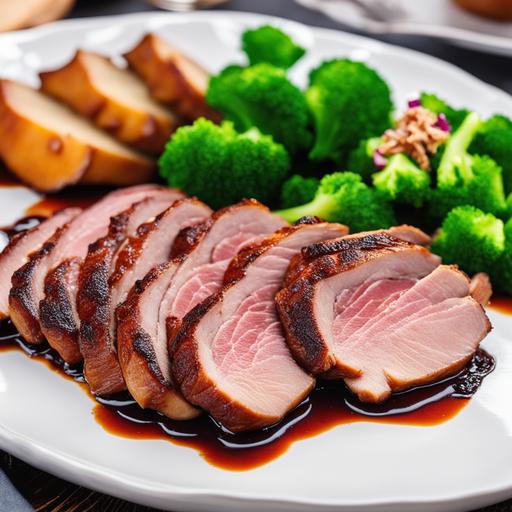
Preparing the duck breast before cooking is as crucial as the cooking process itself. Let’s delve into the necessary steps for cleaning and prepping your duck breast:
-
Rinsing: Begin by rinsing the duck breast under cold running water to remove any residual blood or debris. Pat the meat dry using paper towels.
-
Trimming: If required, trim any excess fat from the duck breast. However, it is recommended to leave a thin layer of fat intact, as this contributes to the flavor and moisture during cooking.
-
Score the Skin: Create shallow cuts across the skin of the duck breast, ensuring you do not pierce through the flesh. This allows the fat to render more efficiently and results in a crispier skin.
-
Seasoning: To enhance the natural flavors, generously season both sides of the duck breast with salt and pepper. You can also experiment with additional spices and herbs according to your taste preferences.
With these preparatory steps completed, you’re now ready to move on to the actual cooking process, leveraging the power of your air fryer.
Tips for Perfect Duck Breasts in the Air Fryer
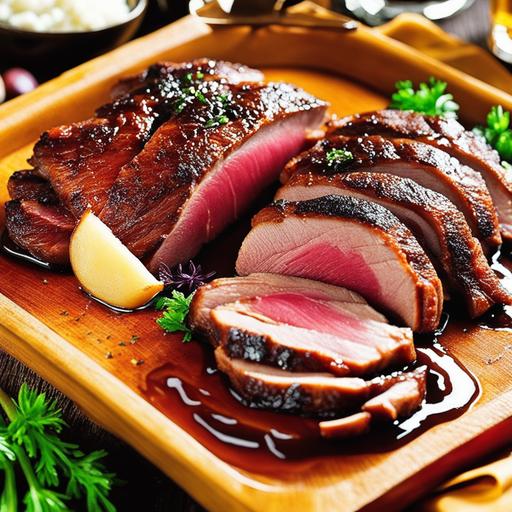
Preparing duck breast using an air fryer offers several advantages, but it’s important to keep a few tips in mind to achieve the best results possible. Let’s explore these expert tips:
-
Preheating: Preheat your air fryer for a few minutes before placing the duck breast inside. This ensures even cooking and helps in achieving that desirable crispy skin.
-
Positioning: Place the duck breast skin-side down in the air fryer basket. This allows the fat to render out and crisp up the skin, while the meat cooks to perfection.
-
Spacing: Ensure you leave enough space between each duck breast in the air fryer basket. This allows proper airflow, ensuring even and thorough cooking.
-
Temperature Control: Set your air fryer to a temperature of 375°F (190°C) for optimal results. This temperature allows the fat to render, creating that delectable crispy skin while maintaining the juiciness of the meat.
-
Cooking Time: The cooking time varies based on the thickness of the duck breast and the level of doneness you desire. As a reference, for medium-rare duck breast, you can cook it for about 10-12 minutes. Adjust the cooking time based on your preferences, ensuring the internal temperature reaches a minimum of 135°F (57°C) for medium-rare doneness.
Keeping these tips in mind will help you achieve consistently great results when cooking duck breasts with your air fryer.
Doneness Checks and Precautions
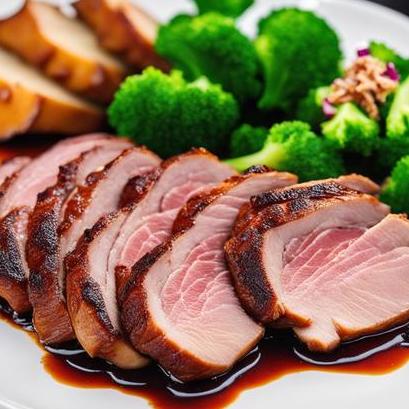
Determining the doneness of your duck breast is essential to ensure it is cooked to perfection. Utilize the following methods for checking the doneness:
-
Internal Temperature: The most reliable method is to use an instant-read meat thermometer. Insert the thermometer into the thickest part of the duck breast, avoiding contact with the bone. For medium-rare, aim for an internal temperature of 135°F (57°C).
-
Visual Inspection: Another indicator of doneness is the color of the meat and the juices that emerge. Medium-rare duck breast will have a pink center with clear juices. However, experiences may vary due to differences in the type of duck, personal preferences, and cooking conditions.
While checking for doneness, it’s crucial to avoid overcooking the duck breast, as it can result in a tough and dry texture. Keep a close eye on the cooking process to savor the perfect balance between tenderness and succulence.
Delectable Variations to Explore
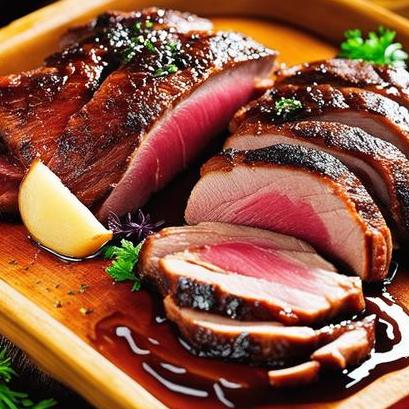
Experimenting with variations adds excitement to your culinary journey. Here are a few delightful variations to explore when cooking duck breasts in an air fryer:
-
Asian-inspired: Marinate the duck breast in a blend of soy sauce, ginger, garlic, and sesame oil for a delightful Asian twist. This imparts a unique flavor profile and pairs perfectly with a side of stir-fried vegetables or noodles.
-
Sweet and Tangy: Glaze the duck breast with a mixture of honey, orange juice, and balsamic vinegar. This combination results in a sweet and tangy taste that complements the richness of the meat.
-
Spiced Delight: Rub the duck breast with a blend of warm spices like cinnamon, star anise, and cloves before air frying. This imparts a subtle warmth to the meat, elevating its taste and aroma.
Feel free to unleash your creativity by experimenting with different ingredients and flavors, developing your signature recipe.
Recipe: Air Fryer Duck Breast Extravaganza
Now that we have explored the essential aspects of cooking duck breasts in an air fryer, it’s time to present you with a mouthwatering recipe. Follow this step-by-step guide to savor the ultimate duck breast extravaganza:
Ingredients:
- 2 duck breasts
- Salt and pepper to taste
- Optional: additional spices or herbs of your choice
Instructions:
- Preheat your air fryer to 375°F (190°C) for a few minutes.
- Rinse the duck breasts under cold running water, pat them dry with paper towels.
- Score the skin of the duck breast in a criss-cross pattern, making sure not to penetrate the meat.
- Season both sides of the duck breast generously with salt, pepper, and any additional spices or herbs.
- Place the duck breasts skin-side down in the air fryer basket, ensuring proper spacing between each breast.
- Cook the duck breasts for 10-12 minutes to achieve medium-rare doneness. Adjust the cooking time based on your preferences.
- Use an instant-read meat thermometer to check the internal temperature. Remove the duck breasts from the air fryer when the temperature reaches 135°F (57°C) for medium-rare.
- Allow the duck breasts to rest for a few minutes before slicing.
- Serve the duck breasts with your favorite sides, ranging from creamy mashed potatoes to vibrant seasonal vegetables.
- Enjoy the succulent, flavorful, and perfectly cooked duck breast right at home!
Conclusion
Congratulations! You have now unlocked the secret to preparing a delectable duck breast using your air fryer. We have explored the fascinating food science behind this culinary delight, discussed the critical aspects of selecting, cleaning, preparing, and cooking duck breasts to perfection. With our expert tips, doneness checks, and variations, you can now confidently embark on an extraordinary culinary adventure. Now go ahead, unleash your creativity, and savor the juicy, tender, and flavorful duck breasts created conveniently in the air fryer. Enjoy the blissful indulgence!
Sources
FAQS On Duck Breast Air Fryer Recipe
What Are The Ingredients Needed For Making A Duck Breast Air Fryer Recipe?
The ingredients for making duck breast air fryer recipe include duck breasts, olive oil, salt, black pepper, and any other desired seasonings or spices.
How Long Should Duck Breast Be Cooked In An Air Fryer?
Typically, duck breast should be cooked in an air fryer for 12-15 minutes at 375°F. However, the cooking time may differ based on the thickness of the duck breast.
Can Duck Breast Be Marinated Before Cooking In An Air Fryer?
Yes, marinating the duck breast before cooking in an air fryer can add extra flavor. It is recommended to marinate the duck breast for at least 30 minutes before cooking.
Should Duck Breast Be Cooked Skin-side Down In An Air Fryer?
Yes, duck breast should be first cooked skin-side down in an air fryer for approximately 7-8 minutes, and then flipped to the other side and cooked for an additional 5-7 minutes until cooked through.
What Is The Internal Temperature For A Perfectly Cooked Duck Breast?
The internal temperature for a perfectly cooked duck breast is 165°F. Using a meat thermometer to check the temperature is recommended.
What Side Dishes Pair Well With Duck Breast Air Fryer Recipe?
Some side dishes that pair well with duck breast air fryer recipe include roasted vegetables, mashed potatoes, wild rice, or a simple arugula salad.
Can Leftover Duck Breast Be Reheated In An Air Fryer?
Yes, leftover duck breast can be reheated in an air fryer by placing it in the fryer for 5-7 minutes at 350°F until warmed through. Alternatively, the duck breast can also be reheated in the oven or microwave.

