
How To Make Cheese Toastie In Air Fryer [FULL GUIDE]
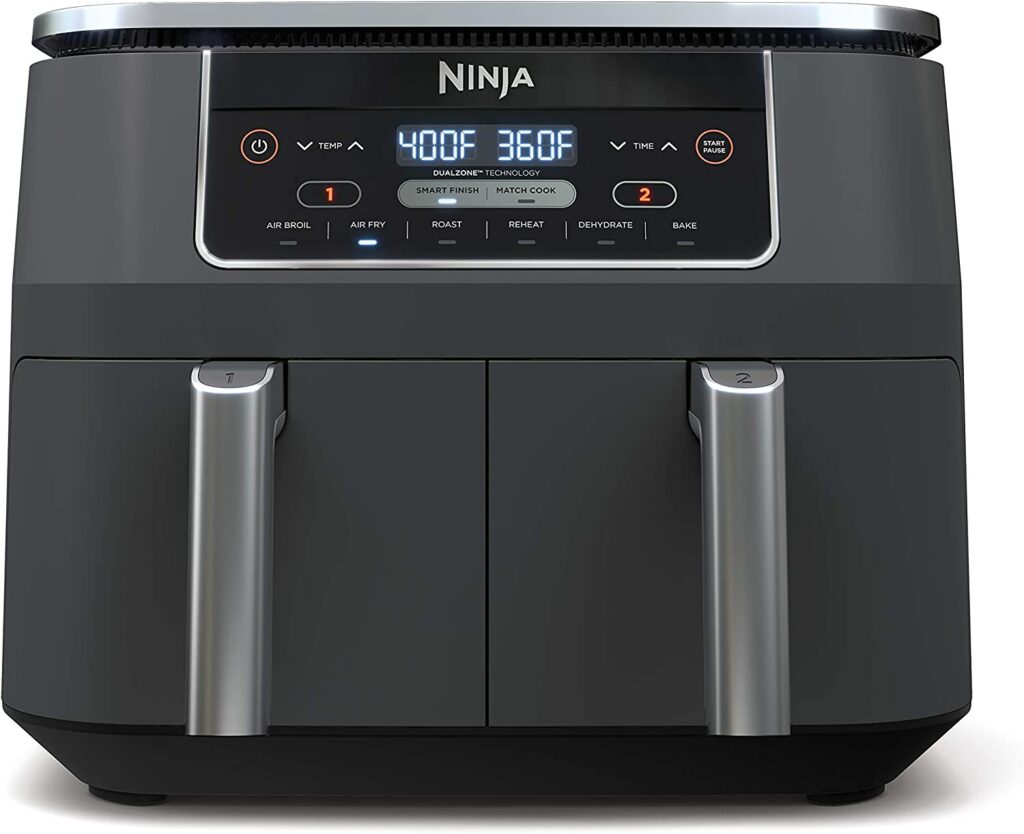
Recommended Equipments:
The humble cheese toastie-a golden, crispy sandwich with a gooey, melted center-has long been a comfort food favorite. Traditionally prepared in a skillet or sandwich press, the cheese toastie has evolved with modern kitchen technology, and the air fryer has emerged as a star player in delivering perfectly toasted, evenly melted sandwiches. Air fryers circulate hot air around food at high speed, creating a crispy exterior without the need for excessive butter or oil, making them ideal for this classic snack. In this guide, we will explore the optimal techniques, timing, and temperatures to achieve a perfectly cooked cheese toastie, while also troubleshooting common mistakes and offering expert tips to elevate your creation.
Optimal Air Fryer Temperature To Make Cheese Toastie In Air Fryer
Temperature is the key to achieving a perfectly crispy exterior while ensuring the cheese melts evenly inside. For most air fryers, a temperature of 180°C (356°F) strikes the ideal balance. At this setting, the bread crisps up without burning, while the cheese has enough heat to melt uniformly. Going above this temperature risks scorching the bread before the cheese has fully melted, whereas lower temperatures may result in a soggy, underwhelming toastie.
It’s important to note that some air fryers, especially compact or high-powered models, may run hotter than the displayed temperature. If your air fryer tends to cook quickly, consider reducing the temperature slightly and monitoring your toastie closely to prevent over-browning.
How Long To Make Cheese Toastie In Air Fryer
Cooking time is just as crucial as temperature. For a standard cheese toastie, the recommended cooking time is 6 to 8 minutes. Most air fryers will cook the sandwich evenly in this timeframe if you flip it halfway through. This ensures both sides achieve a golden-brown crispness.
If you prefer your toastie extra crunchy or your cheese extra melty, you can experiment with slightly longer cooking times, but always keep a watchful eye after 8 minutes to prevent burning.
How To Tell If It Is Done
Determining doneness involves both visual cues and tactile feedback:
- Golden Brown Exterior: The bread should be evenly toasted with a deep golden-brown hue. Darker spots indicate areas that may be overcooked.
- Melty Cheese: A peek inside (carefully!) should reveal cheese that has fully melted and is beginning to ooze slightly, without separating or becoming oily.
- Firm Texture: Gently press on the toastie. It should feel firm but not rock-hard, indicating the bread is crispy and the interior is fully heated.
Ingredients Needed
To create a perfect cheese toastie in an air fryer, you will need:
- 2 slices of bread (white, wholemeal, or sourdough-your preference)
- 2-3 slices of cheese (cheddar, mozzarella, or a combination for extra gooeyness)
- Butter or margarine (softened, for spreading on the outer bread)
- Optional fillings: sliced tomato, ham, onion, or mustard for added flavor
The choice of ingredients can influence the cooking process; for example, thicker cheeses may require slightly more time to melt.
How To Make Cheese Toastie In Air Fryer
- Preheat the Air Fryer: Set it to 180°C (356°F) and allow it to heat for 2-3 minutes.
- Prepare the Bread: Spread a thin layer of butter on the outside of each bread slice. This ensures a golden, crispy finish.
- Assemble the Toastie: Place your cheese between the slices, buttered side facing out. Add optional fillings if desired.
- Air Fry: Place the sandwich in the air fryer basket. Cook for 3-4 minutes, then flip and cook for another 3-4 minutes.
- Check for Doneness: Ensure the bread is golden and the cheese is fully melted. Serve immediately for optimal gooeyness.
What If I Use A Different Air Fryer Temperature?
Adjusting the temperature will change both the texture and the cooking time:
- Higher Temperature (190-200°C / 374-392°F): Bread will brown faster, but the cheese may remain unmelted inside if not carefully timed. You’ll need to reduce cooking time and possibly flip the sandwich more frequently.
- Lower Temperature (160-170°C / 320-338°F): Cheese will melt evenly, but the bread may not become as crispy. You may need to extend cooking time slightly, but watch closely to avoid a soggy finish.
Experimentation is key, especially if your air fryer model has unique heat distribution.
What If I Use A Different Air Fryer Cooking Time?
Cooking time adjustments affect both texture and melt quality:
- Shorter Time: Toastie may be undercooked, with cheese only partially melted.
- Longer Time: Bread may become too dark or burnt, and cheese could separate or become greasy.
Always monitor your sandwich during the final 1-2 minutes, as small changes in timing can make a big difference.
When Things Go Wrong
Common issues and solutions include:
- Uneven browning: Flip the toastie halfway and consider reducing the temperature slightly.
- Cheese not melting: Ensure your slices are not too thick and the temperature is sufficient. Some cheeses may need lower heat but longer cook times.
- Soggy bread: Use a thin layer of butter and avoid overloading the sandwich with wet ingredients.
- Burnt edges: Reduce temperature and keep cooking time consistent. Using parchment paper can sometimes prevent excessive browning.
Expert Tips
- Use Room Temperature Cheese: This helps it melt faster and more evenly.
- Avoid Overcrowding: Ensure air circulates around the toastie for uniform cooking.
- Experiment with Cheese Combinations: Cheddar + mozzarella gives a perfect balance of flavor and stretchiness.
- Let it Rest Briefly: A 1-minute rest after cooking allows the cheese to stabilize slightly, reducing messy oozing.
- Crispiness Hack: Spray a little olive oil on the bread before air frying for extra crunch without excess butter.
FAQs
What Ingredients Do I Need To Make A Cheese Toastie In An Air Fryer?
To make a cheese toastie in an air fryer, you typically need sliced bread, cheese (such as cheddar, mozzarella, or a blend), butter or margarine for spreading on the bread, and optional fillings like ham, tomatoes, or herbs. Choosing a good melting cheese is key for a gooey center.
Do I Need To Preheat The Air Fryer Before Making A Cheese Toastie?
Preheating the air fryer is recommended for a more evenly toasted and crispy result. Set the air fryer to 180-200°C (350-400°F) and preheat for about 3-5 minutes before placing your assembled toastie inside.
How Long Should I Cook A Cheese Toastie In An Air Fryer?
Cooking time generally ranges from 5 to 8 minutes, depending on the air fryer model and bread thickness. Flip the toastie halfway through cooking to ensure both sides are golden brown and the cheese has melted completely.
Should I Butter The Bread Before Putting It In The Air Fryer?
Yes, lightly buttering the outer sides of the bread helps achieve a golden, crispy exterior. If you prefer a lower-fat option, you can use a light oil spray instead, but butter typically yields the best flavor and texture.
Can I Add Other Ingredients To The Cheese Toastie In The Air Fryer?
Absolutely. You can add ingredients like ham, cooked bacon, tomatoes, onions, or spinach. Just be mindful of moisture-rich fillings, as they can make the toastie soggy. Pre-cooking or draining wet ingredients helps maintain crispiness.
Do I Need To Flip The Toastie During Cooking?
Flipping the toastie halfway through cooking is recommended to ensure both sides are evenly toasted and golden brown. Some air fryers with strong circulation may cook evenly without flipping, but flipping is safer for consistent results.
How Can I Prevent The Cheese From Leaking Out In The Air Fryer?
To prevent cheese from leaking, avoid overfilling the toastie and press the sandwich slightly together before cooking. Using thicker slices of bread or a cheese that melts but doesn’t become overly runny can also help contain the filling.