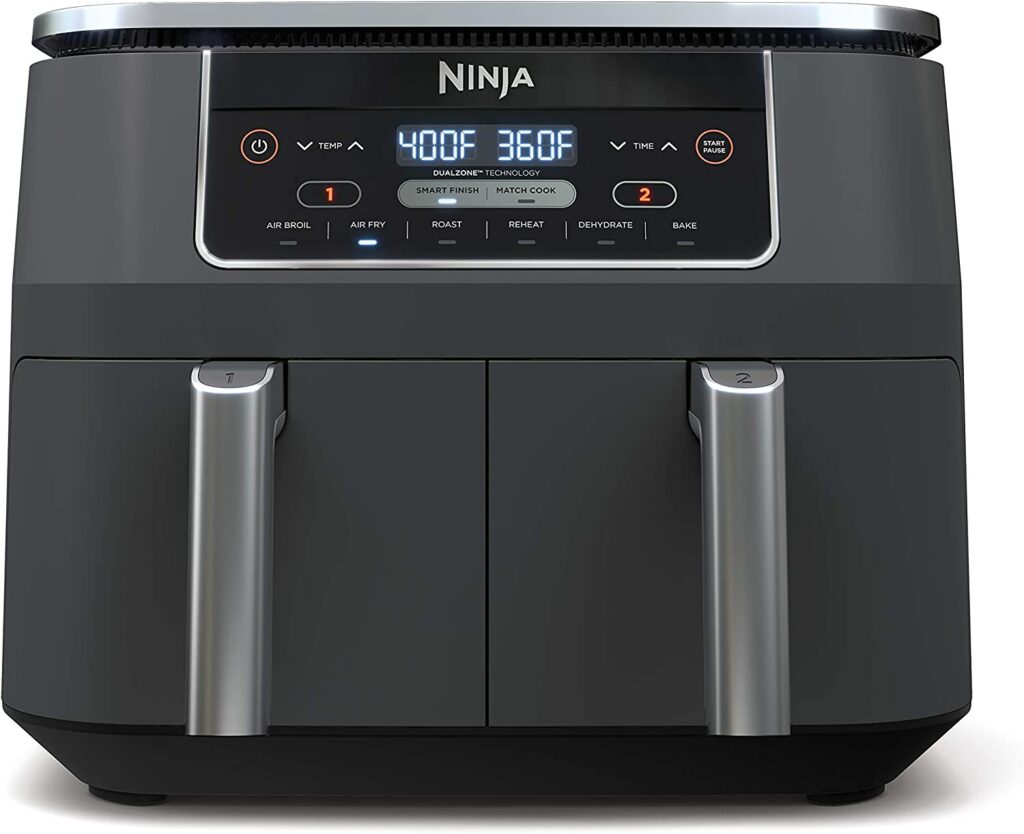
The Ultimate Guide To Making Mouthwatering Jerky In An Air Fryer
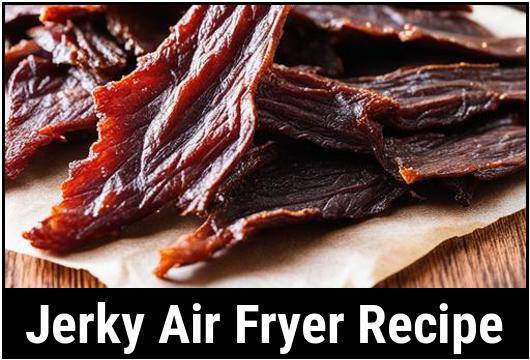
Are you craving a protein-packed, flavorful snack to satisfy those midday cravings or provide a boost of energy during outdoor adventures? Look no further than jerky! Delicious, portable, and easy to make, jerky is a timeless treat loved by many. In this comprehensive guide, we will explore the fascinating world of jerky and show you how to create your very own batch using an air fryer. From understanding the food science behind jerky to step-by-step instructions and valuable tips, we’ve got you covered. So, fasten your seatbelts and let’s dive into the realm of succulent jerky!
Understanding the Food Science Behind Jerky
Jerky is a delectable, dried meat snack that has stood the test of time. With origins tracing back to ancient civilizations, jerky was a vital staple for survival as it allowed meat to be preserved for extended periods. Today, jerky has evolved into a popular treat enjoyed by people worldwide.
The key to achieving that perfect jerky lies in understanding the science behind it. When making jerky, moisture is removed from the meat, giving it a concentrated flavor and enhancing its shelf-life. The removal of moisture helps prevent spoilage and the growth of harmful bacteria.
Culinary Details: Choosing the Right Meat
Selecting the right type of meat is crucial to achieving the best results. While beef is the traditional choice for jerky, other meats like turkey, chicken, pork, and even seafood can be used. Look for lean, tender cuts of meat that are low in fat. Fat can become rancid during the drying process and affect the texture and taste of your jerky.
Some popular meat options for jerky include:
- Beef (e.g., lean cuts like eye round, top round, or bottom round)
- Turkey breast
- Chicken breast
- Pork tenderloin
- Salmon fillets (for a delightful twist)
Ensure the meat is fresh and free of any additives or preservatives. For the best results, consider slicing the meat against the grain into thin strips. This allows the marinade to permeate evenly and aids in achieving a tender texture.
Cleaning and Preparation
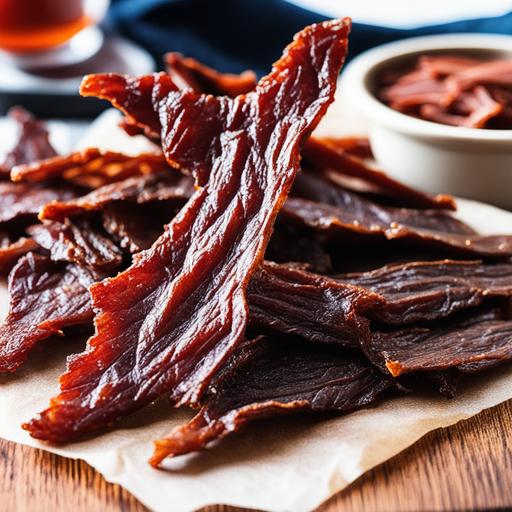
Maintaining cleanliness and proper preparation are vital when making jerky. Here are some essential steps to follow:
Cleaning the Air Fryer
Before you begin, ensure your air fryer is clean and free from any lingering odors or residues from previous use. Follow the manufacturer’s recommended cleaning instructions to ensure proper hygiene and prevent any cross-contamination.
Preparing the Meat
Once your air fryer is pristine, it’s time to prepare the meat. Start by placing it in the freezer for about 30 minutes to firm it up. This will make slicing the meat into thin strips much easier and result in uniform pieces.
After removing the meat from the freezer, slice it against the grain into thin strips, roughly ¼ inch thick. This technique helps to create a tender and less chewy texture in your jerky.
Marinade: Unleashing Flavor Potential
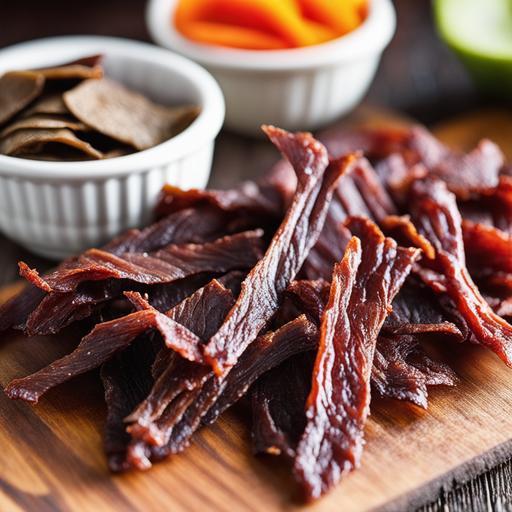
A well-crafted marinade is the secret to flavorful jerky. The marinade not only adds taste but also helps tenderize the meat and acts as a preservative. Here’s an easy recipe for a mouthwatering marinade:
Ingredients:
- ½ cup soy sauce
- ¼ cup Worcestershire sauce
- 2 tablespoons honey
- 1 tablespoon garlic powder
- 1 tablespoon onion powder
- 1 teaspoon black pepper
- 1 teaspoon liquid smoke (optional, for a smoky flavor)
Instructions:
- In a bowl, whisk together the soy sauce, Worcestershire sauce, honey, garlic powder, onion powder, black pepper, and liquid smoke (if using).
- Place the sliced meat strips into a sealable plastic bag or an airtight container.
- Pour the marinade over the meat, ensuring all pieces are well-coated.
- Seal the bag or container and give it a gentle shake to evenly distribute the marinade.
- Refrigerate for at least 4 hours or overnight to allow the flavors to develop.
Feel free to experiment with different herbs, spices, and sauces to create your signature marinade. Just remember to maintain a balance between flavors, ensuring they complement the meat without overpowering it.
Tips for Jerky Success
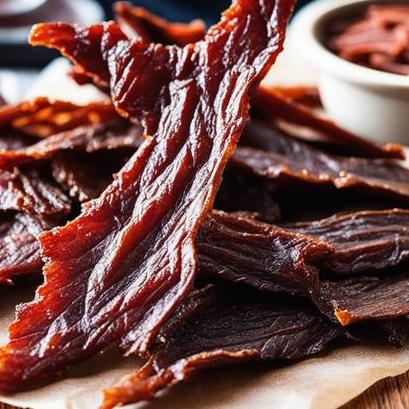
Creating jerky in an air fryer can be a breeze if you keep a few helpful tips in mind:
Temperature and Time
Set your air fryer to the lowest possible temperature, typically between 160°F to 170°F (70°C to 75°C). Slow, gentle drying is essential to maintain the flavor and texture of the meat. Adjust the cooking time based on the thickness of your meat slices and monitor closely to avoid over-drying.
Air Circulation
To ensure even drying, arrange the meat strips in a single layer on the air fryer racks or trays. Avoid overcrowding to ensure proper airflow. Periodically rotate the trays to further enhance air circulation and promote uniform drying.
Patience is Key
Jerky-making is an exercise in patience! Depending on the thickness of your meat and the desired dryness, the process can take anywhere from 2 to 6 hours. Avoid the temptation to rush the process, as it may result in unevenly dried jerky or even spoilage.
Doneness Check: The Bend and Snap Test
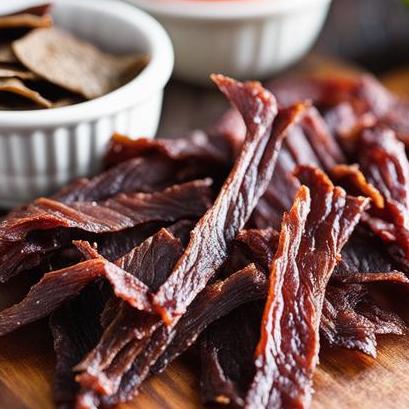
Determining the right doneness of your jerky is crucial to achieving the perfect texture. Use the "bend and snap" test to check the readiness of your jerky:
- Remove a strip of jerky from the air fryer and allow it to cool for a minute or two.
- Gently bend the jerky. It should be pliable and slightly bendable without breaking.
- If the jerky snaps cleanly or breaks while bending, it may be over-dried. Reduce the drying time slightly for subsequent batches.
- Remember, the residual heat will continue to dry the jerky even after removing it from the air fryer. Aim for a slightly softer texture, as the jerky will firm up during cooling.
Variations: Exploring Flavors
Now that you’ve mastered the basics, let’s explore some exciting variations and flavor combinations to take your jerky game to the next level:
- Spicy Teriyaki: Add a kick to your jerky by incorporating red pepper flakes or Sriracha sauce into your marinade.
- Sweet and Smoky: Enhance the smoky flavor by adding a bit of brown sugar and smoked paprika to your marinade.
- Asian Fusion: Combine soy sauce, ginger, and a splash of sesame oil for an irresistible Asian-inspired jerky.
- Fiery Cajun: Mix Cajun seasoning, garlic powder, and a pinch of cayenne pepper for a bold, zesty flavor profile.
- Espresso and Cocoa: Add a unique twist by incorporating finely ground espresso or cocoa powder into your marinade. The subtle bitterness pairs beautifully with the savory meat.
Feel free to experiment and tailor the flavors to suit your personal preferences. Jerky-making is an art, and the possibilities are endless!
Storing and Shelf-Life
Proper storage is key to maintaining the quality and extending the shelf-life of your homemade jerky. Follow these guidelines to keep it fresh and delicious:
- Allow the jerky to cool completely before storing to prevent moisture buildup.
- Place the cooled jerky in an airtight container or sealable plastic bags. Ensure there’s minimal air inside the container or bag.
- Label the container with the date of preparation to track its freshness.
- Store the container in a cool, dry, and dark place to prevent any heat or light exposure.
- Consume the jerky within 1 to 2 months for optimal flavor and texture, although it can generally last up to 6 months.
In Conclusion
Congratulations! You are now equipped with the knowledge and skills to create mouthwatering jerky using an air fryer. From understanding the food science to selecting the right meat, preparing the marinade, and following essential tips, you are on your way to becoming a jerky-making aficionado. Remember, practice makes perfect, so don’t hesitate to experiment with flavors and techniques. Enjoy the journey as you create delicious jerky that will leave your taste buds craving for more. Happy jerky-making!
Sources
FAQS On Jerky Air Fryer Recipe
What Ingredients Are Needed For A Homemade Jerky Air Fryer Recipe?
The ingredients typically used include lean cuts of protein, such as beef or chicken, marinade, and optional seasonings.
Is It Necessary To Marinate The Meat Before Air Frying For Jerky?
While marinating is not required, it can add extra flavor to the final product. It is recommended to marinate for at least 2 hours, but overnight is best.
How Long Does It Take To Make Jerky In An Air Fryer?
The cooking time can vary depending on the thickness of the meat and the temperature of the air fryer. However, it usually takes around 2-3 hours at 165°F.
Can I Use Frozen Meat For An Air Fryer Jerky Recipe?
It is recommended to use thawed meat for best results as the frozen meat may not cook evenly. However, if using frozen meat, ensure that it is fully thawed before cooking.
What Type Of Air Fryer Is Best For Making Jerky?
While any air fryer can be used, a larger one with multiple racks or trays will allow for more jerky to be made at once. Models with a dehydrator function are also ideal.
Can I Add Extra Seasonings Or Spices To My Jerky Air Fryer Recipe?
Yes, you can customize the seasonings according to your personal taste preferences. Just be mindful of not adding too much as it can affect the texture of the jerky.
How Should I Store The Homemade Jerky Made In An Air Fryer?
Once the jerky has cooled down, store it in an airtight container or resealable bag in a cool, dry place. It can last for about 1-2 weeks at room temperature and longer if stored in the fridge or freezer.

